- Docker - Home
- Docker - Overview
- Docker - Installing on Linux
- Docker - Installation
- Docker - Hub
- Docker - Images
- Docker - Containers
- Docker - Registries
- Docker - Compose
- Docker - Working With Containers
- Docker - Architecture
- Docker - Layers
- Docker - Container & Hosts
- Docker - Configuration
- Docker - Containers & Shells
- Docker - Dockerfile
- Docker - Building Files
- Docker - Public Repositories
- Docker - Managing Ports
- Docker - Web Server
- Docker - Commands
- Docker - Container Linking
- Docker - Data Storage
- Docker - Volumes
- Docker - Networking
- Docker - Security
- Docker - Toolbox
- Docker - Cloud
- Docker - Build Cloud
- Docker - Logging
- Docker - Continuous Integration
- Docker - Kubernetes Architecture
- Docker - Working of Kubernetes
- Docker - Generative AI
- Docker - Hosting
- Docker - Best Practices
- Docker - Setting Node.js
- Docker - Setting MongoDB
- Docker - Setting NGINX
- Docker - Setting ASP.Net
- Docker - Setting MySQL
- Docker - Setting Go
- Docker - Setting Rust
- Docker - Setting Apache
- Docker - Setting MariaDB
- Docker - Setting Jupyter
- Docker - Setting Portainer
- Docker - Setting Rstudio
- Docker - Setting Plex
- Docker Setting - Flame
- Docker Setting - PostgreSql
- Docker Setting - Mosquitto
- Docker Setting - Grafana
- Docker Setting - Nextcloud
- Docker Setting - Pawns
- Docker Setting - Ubuntu
- Docker Setting - RabbitMQ
- Docker - Setting Python
- Docker - Setting Java
- Docker - Setting Redis
- Docker - Setting Alpine
- Docker - Setting BusyBox
- Docker Setting - Traefik
- Docker Setting - WordPress
- Docker Useful Resources
- Docker - Quick Guide
- Docker - Useful Resources
- Docker - Discussion
Docker - Setting Apache
Apache, which is also known as Apache HTTP Server, is among the most commonly used web servers globally. The fact that it is open-source, very robust, and can be adjusted to suit ones requirements explains why it is used in millions of websites. However, setting up and managing Apache across different environments can pose a challenge, particularly with dependencies & system configurations.
Docker provides a solution for this problem by offering a standardized environment for containerizing Apache that can easily be deployed, managed, and scaled up on various platforms! This chapter takes you through the process of dockerizing Apache HTTP so that you can run it within an even isolated environment.
Prerequisites to Dockerizing Apache HTTP Server
Before starting with this tutorial, make sure you have the following −
- Basic Knowledge of Docker − It will be easier for you to understand this chapter if you already know what images, containers, and Dockerfiles are.
- Apache HTTP Server Basics − You should at least have some information about Apache configuration and how to manage a simple server.
- Docker Installed − Is your Docker up and running? You can download it from Docker's official website.
- Text Editor − Any text editor like VSCode, Sublime Text, or even Notepad++ will work.
- Command Line Interface (CLI) − You should be comfortable with typing commands in a command-line interface.
Setting up an Apache Project
Before you can dockerize Apache HTTPD, you need to have a simple Apache project running on your local machine. This project will be used as a basis for the Docker image of the server.
Step 1. Create a Project Directory
Start by creating a folder where you will keep all files related to your Apache project. These may include configuration settings as well as web content.
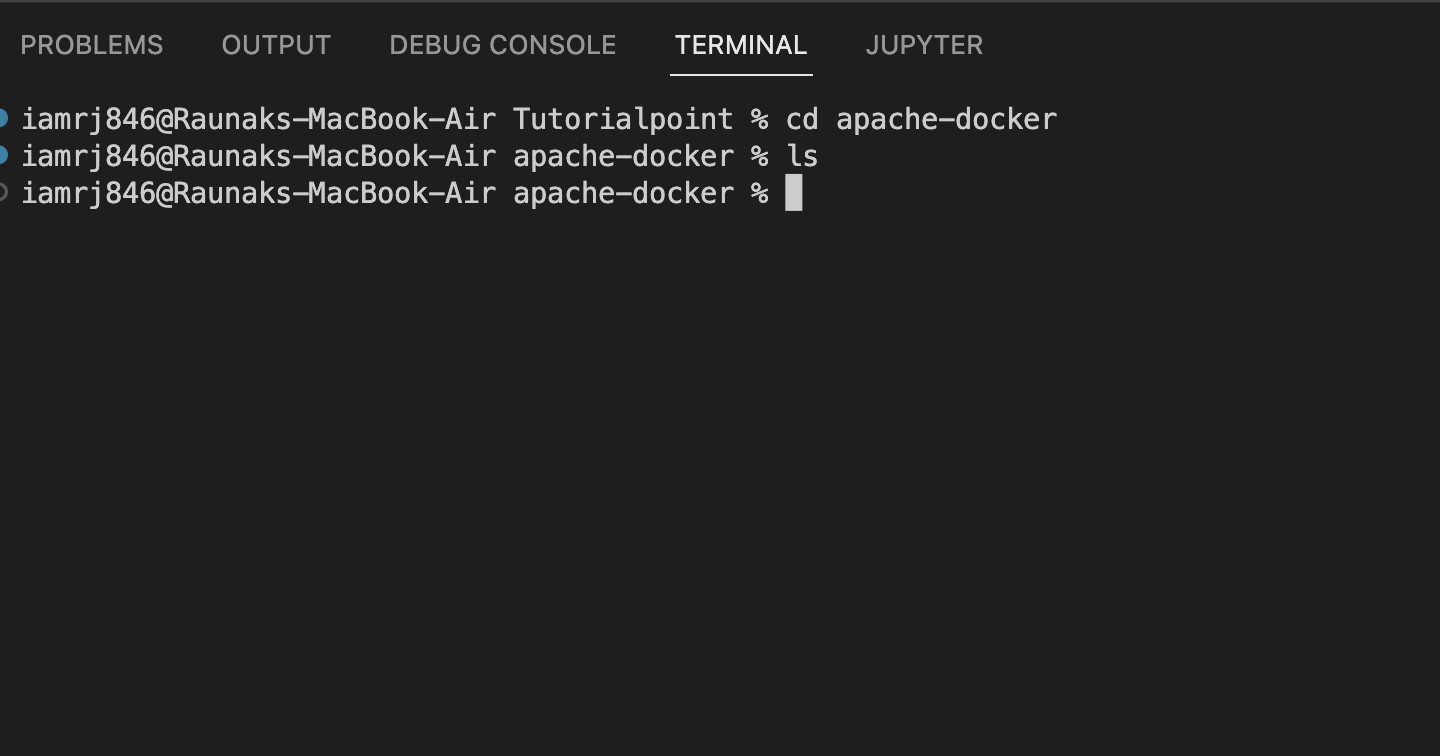
$ mkdir apache-docker
$ cd apache-docker
Step 2. Add a Basic HTML File
Within the project directory, create an HTML file that Apache can serve by using the commands below. With this file in place, we can check if our server is operational once we start it up.
$ touch index.html
Open the index.html file in your text editor and add some basic HTML content −
<!DOCTYPE html>
<html lang="en">
   <head>
      <meta charset="UTF-8">
      <meta name="viewport" content="width=device-width, initial-scale=1.0">
      <title>Welcome to Apache</title>
   </head>
   <body>
      <h1>Hello, World! Welcome to your Apache server.</h1>
   </body>
</html>
Save the file once you've added the content.
Step 3. Add an Apache Configuration File
For a customized serving of content by Apache, you may include a configuration file. Inside your project folder create a directory named conf where you will keep this configuration.
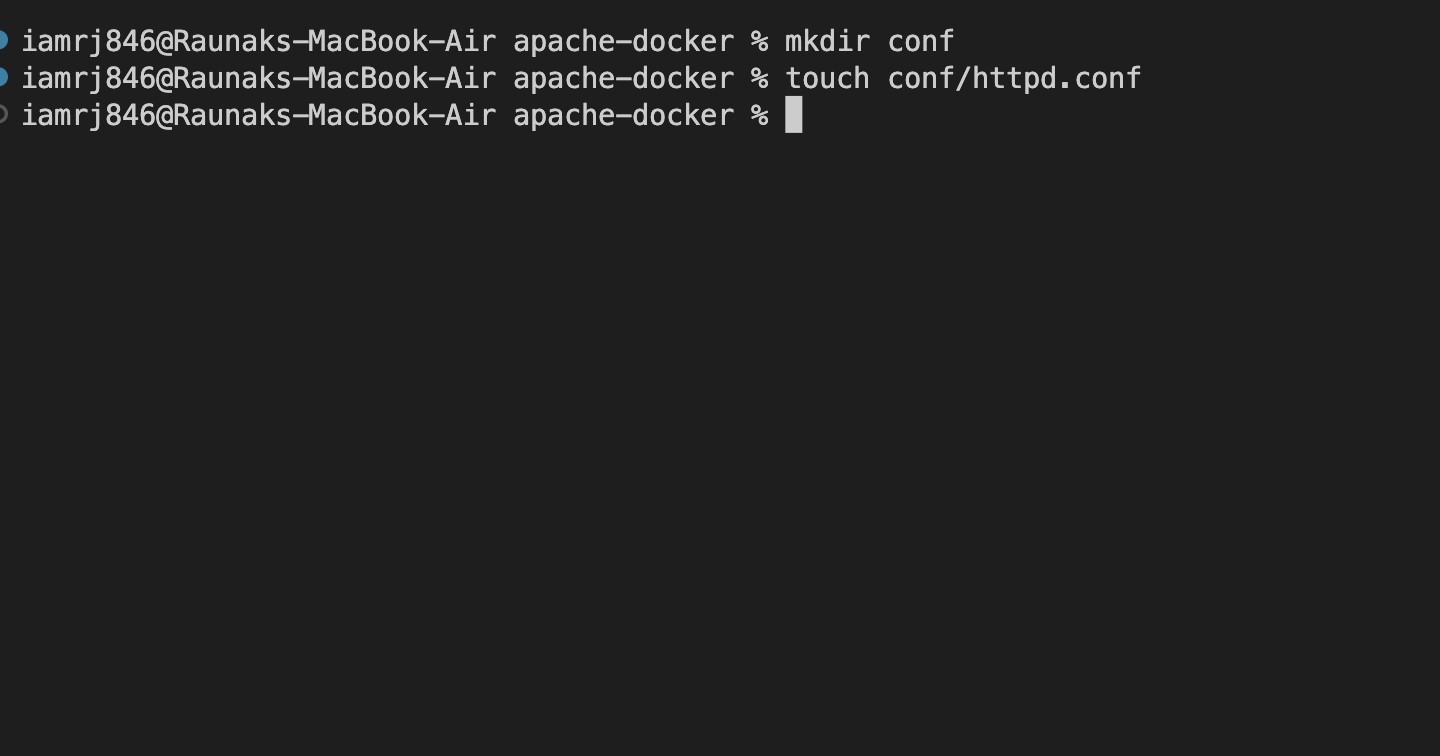
$ mkdir conf
Inside the conf directory, create a new file named httpd.conf −
$ touch conf/httpd.conf
This httpd.conf file will be used to configure the Apache server. For now, you can add the following basic configuration −
ServerName localhost

<VirtualHost *:80>
   DocumentRoot "/usr/local/apache2/htdocs"
   <Directory "/usr/local/apache2/htdocs">
      AllowOverride None
      Require all granted
   </Directory>

</VirtualHost>
This configuration sets up a virtual host on port 80, specifying the document root where your HTML files will be served.
Step 4. Directory Structure Overview
Your project directory should look like this −
apache-docker/

 conf/

    httpd.conf

 index.html
This is how you set up the foundation structure for your Apache project. Later on, we shall make use of it to come up with a Dockerfile, build a Docker image then run an Apache server within a containerized environment.
Running the Apache Server Locally
We would like to run this local Apache HTTPD server before we containerize it so that we can make sure everything is correctly set up. We just want to test if our Apache configuration and project files work as expected, independently of Docker.
Step 1. Install Apache HTTP Server
You can install Apache on your machine. Based on the OS, you can use one of the commands below.
On Ubuntu / Debian:
$ sudo apt-get update

$ sudo apt-get install apache2
On CentOS / RHEL:
$ sudo yum install httpd
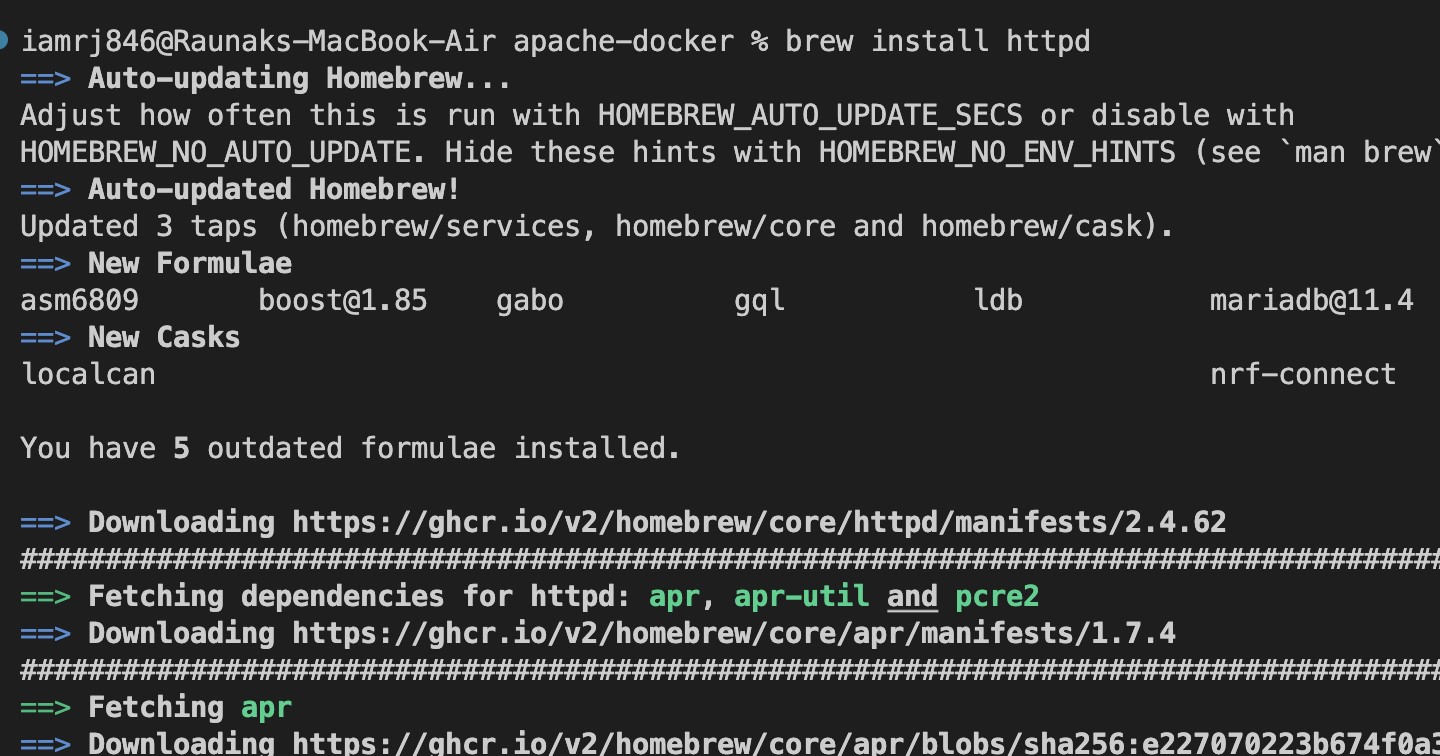
On macOS (Using Homebrew):
$ brew install httpd
Step 2. Start the Apache Server
After you have installed Apache, you can start the server so that it can serve the content from your project directory.
On Ubuntu / Debian:
$ sudo systemctl start apache2
On CentOS/RHEL:
$ sudo systemctl start httpd
On macOS:
$ sudo apachectl start
Step 3. Configure the Document Root
By default, it serves files from a predefined document root. Now, let's talk about configuring Apache to serve content from our project directory, apache-docker, to test the setup of our project.
Open the Apache configuration file using a text editor. By default configuration, it usually is httpd.conf or apache2.conf. On Ubuntu/Debian, it can be /etc/apache2/apache2.conf, while on CentOS/RHEL, it might go at /etc/httpd/conf/httpd.conf. Find the DocumentRoot directive, and update it to point at your project directory. For example −
DocumentRoot "/path/to/apache-docker"

<Directory "/path/to/apache-docker">

   AllowOverride None
   Require all granted

</Directory>
Replace /path/to/apache-docker with the actual path to your project directory.
Step 4. Restart Apache
After you have updated the configuration, you need to restart Apache to apply the changes.
On Ubuntu/Debian:
$ sudo systemctl restart apache2
On CentOS/RHEL:
$ sudo systemctl restart httpd
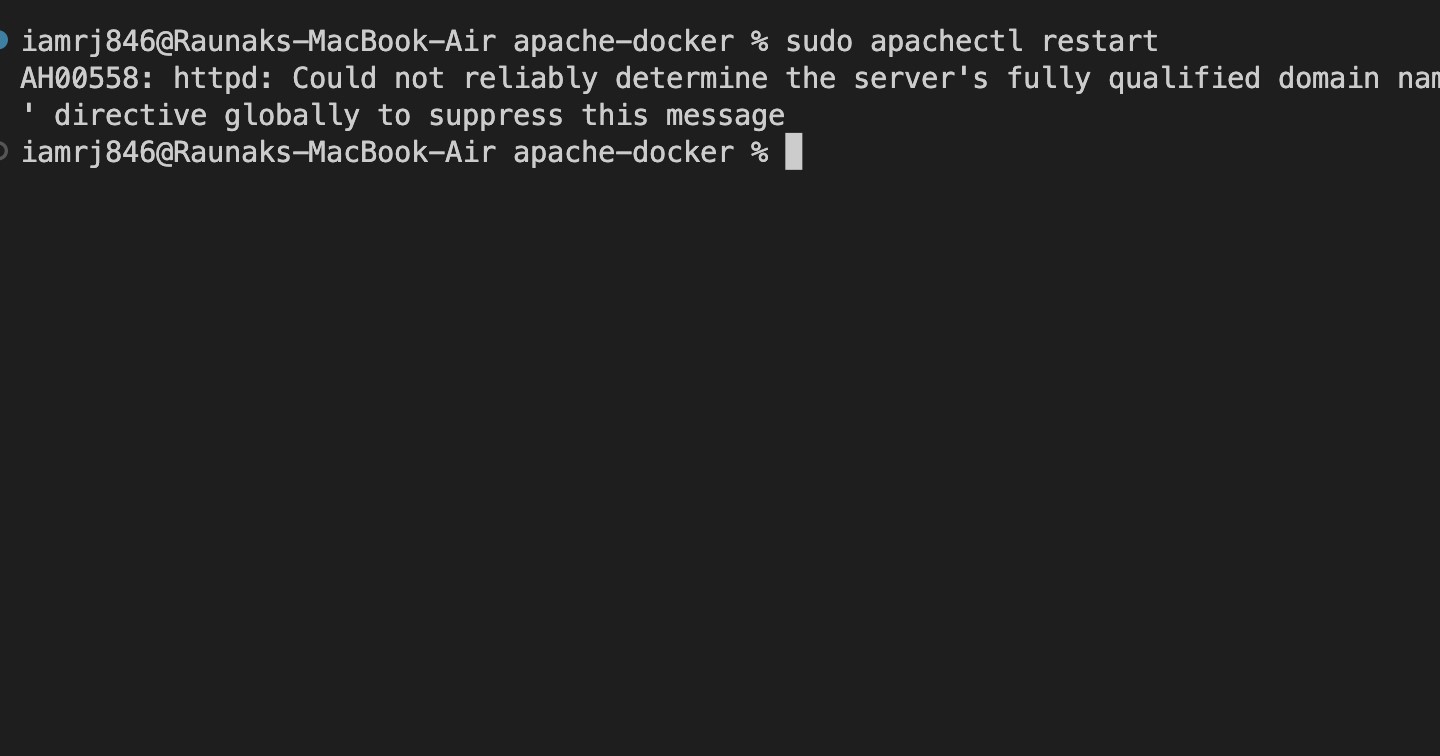
On macOS:
$ sudo apachectl restart
Step 5. Access the Apache Server
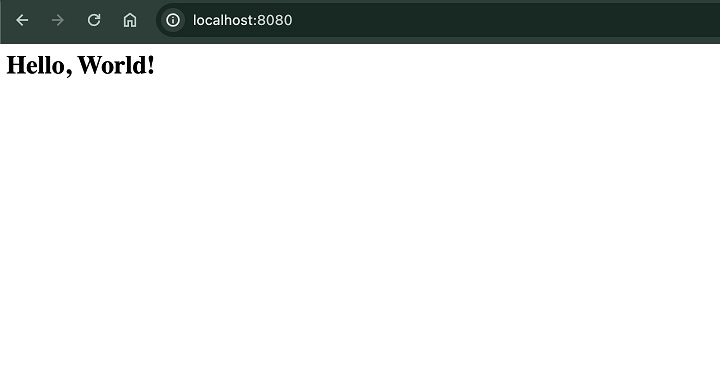
You can now open your web browser and visit http://localhost. You should see the HTML page you created earlier, which displays the "Hello, World!" message.
Creating the Dockerfile
Now that we have an Apache HTTPD server running up locally, lets try to Dockerize this server so that it runs on a container. For that, we need to build a Docker Image that has the application along with the dependencies. To build a Docker image, we need a Dockerfile that contains all the relevant instructions.
A Dockerfile is just a text file that contains a set of instructions that the Docker daemon uses to build the image. Each instruction in a Dockerfile creates a layer in the image that is reusable. We can then use the Docker build command to build an image using this Dockerfile.
Step 1. Create the Dockerfile
Create a new file called Dockerfile in your project directory.
$ touch Dockerfile
Step 2. Define the Base Image
The first instruction in a Dockerfile is to define the base image. Since our goal is to run an Apache HTTPD server on the Docker container, we can use the official Apache image provided by Dockerhub using the instruction below.
FROM httpd:latest
This will pull the latest version of the official httpd image which already contains a pre-configured Apache HTTP server.
Step 3. Copy Project Files into the Container
Now, lets copy all our project files into the Docker container. In the Docker container, the Apache web server expects the HTML files to be in /usr/local/apache2/htdocs/ directory. We can use the COPY instruction to copy the index.html file into this directory.
COPY ./index.html /usr/local/apache2/htdocs/
Step 4. Copy the Apache Configuration File
Next, you can also copy the httpd.conf file containing custom configurations. The Apache web server expects the configuration files to be placed in the /usr/local/apache2/conf/ directory.
COPY ./conf/httpd.conf /usr/local/apache2/conf/httpd.conf
Step 5. Expose the Necessary Ports
The Apache web server by default listens on port 80 for all the HTTP requests. We can write an instruction in the Dockerfile to make this port accessible from outside the container.
EXPOSE 80
Please note that this instruction does not actually publish the port to your host machine, but it allows the port to be exposed.
Step 6. Final Dockerfile
Heres how the final Dockerfile will look like −
# Use the official Apache HTTPD image as the base

FROM httpd:latest

# Copy the HTML files into the Apache document root

COPY ./index.html /usr/local/apache2/htdocs/

# Copy the custom Apache configuration file

COPY ./conf/httpd.conf /usr/local/apache2/conf/httpd.conf

# Expose port 80 to allow external access

EXPOSE 80
Step 7. Directory Structure Overview
Now your project directory should look like this −
apache-docker/

 conf/

    httpd.conf

 Dockerfile

 index.html
Building the Apache Image
Now that we have our Dockefile created, we can go ahead and start building the Docker image.
Step 1. Build the Docker Image
Navigate to your project directory (apache-docker) in the terminal and run the following command −
$ docker build -t my-apache-image .
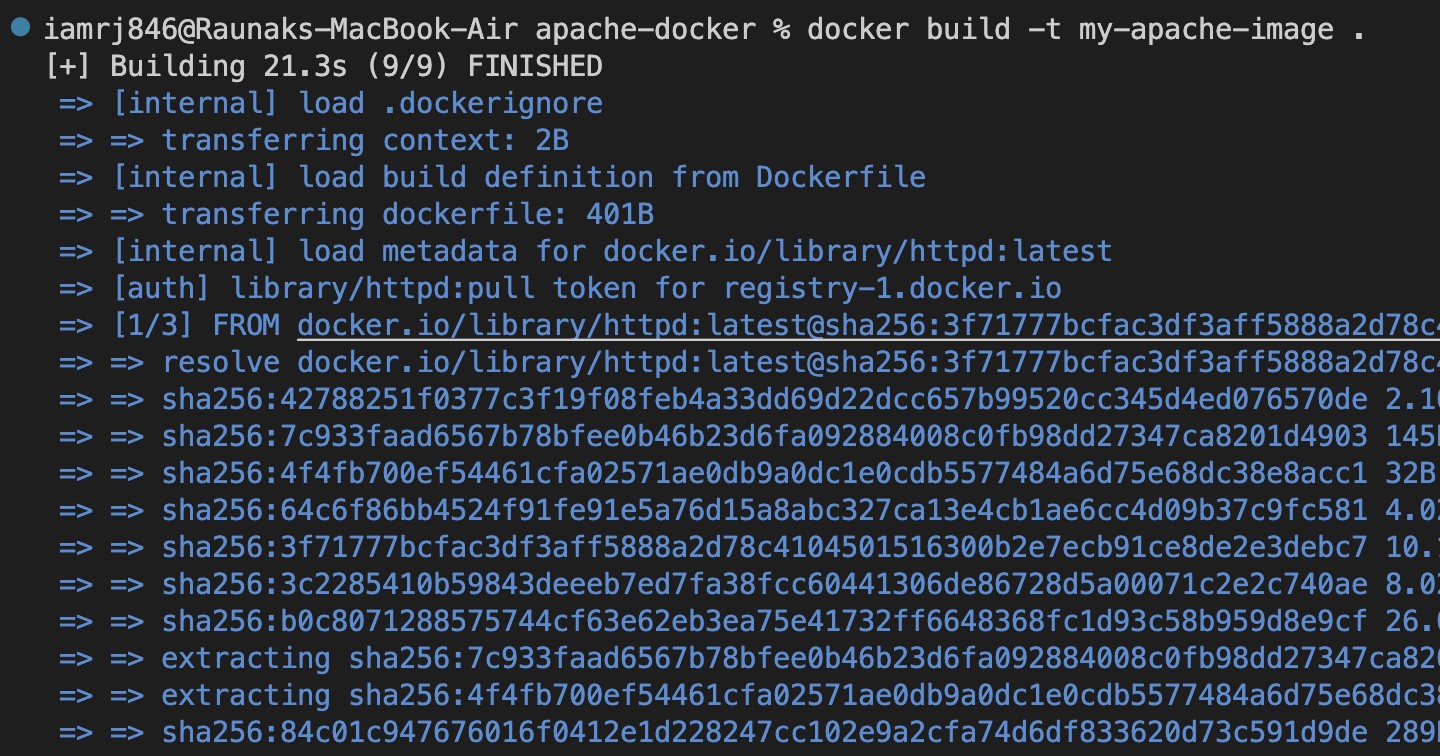
In the above command, docker build tells the Docker daemon to create an image from a Dockerfile. Next, the -t my-apache-image tags the image with the name my-apache-image. The at the end specifies the build context.
Step 2. Verify the Image
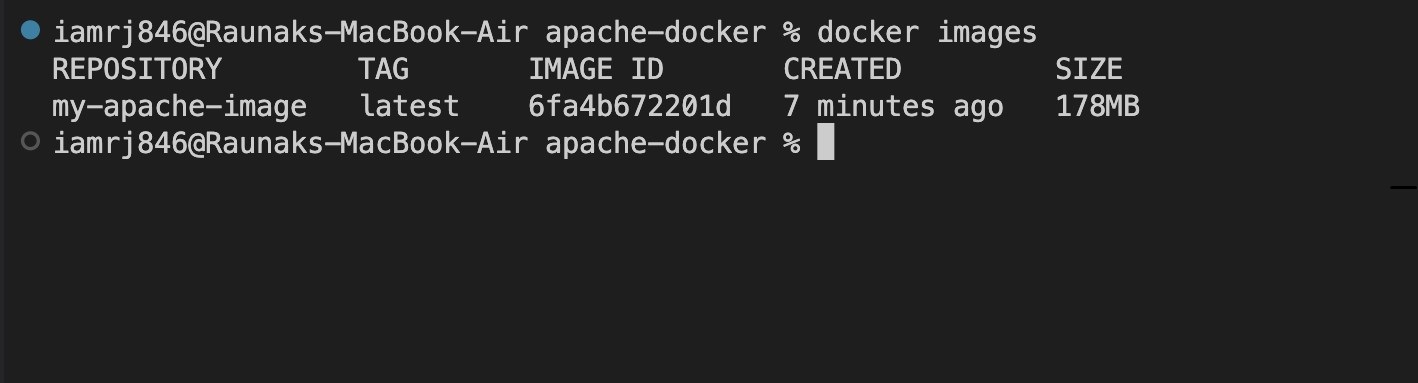
You can verify the image build by listing all the Docker images in your host machine.
$ docker images
Running the Apache Docker Container
Lets run a Docker container associated with this Docker image. The Docker run command will create a container with an isolated environment where the Apache server will run independently of your local machine's configuration.
Step 1. Run the Docker Container
You can use the following command to spin up a container.
$ docker run -d -p 8080:80 --name my-apache-container my-apache-image
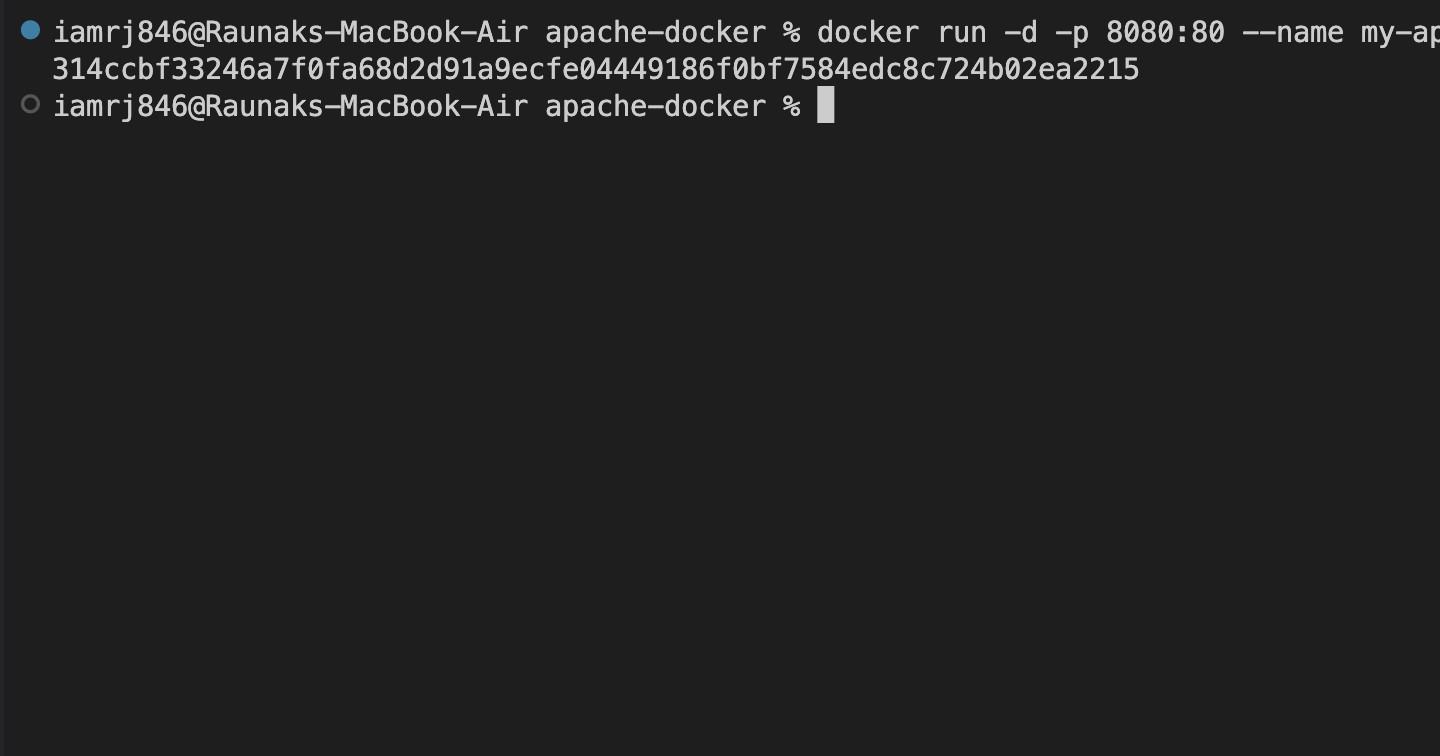
Heres what each part of the command does −
- docker run creates and starts a new container from an image.
- -d runs the container in detached mode, meaning it runs in the background.
- -p 8080:80 maps port 80 inside the container (where Apache is listening) to port 8080 on your host machine. You can choose a different host port if 8080 is already in use.
- --name my-apache-container assigns a name to the running container, making it easier to manage.
- my-apache-image specifies the image to use for the container.
Step 2. Access the Apache Server
Now that your container is running, you can open a web browser and navigate to http://localhost:8080 and see the "Hello, World!" page that you created earlier.
Conclusion
You have successfully dockerized an Apache HTTP server, created a Docker image, and run it inside a Docker container. This approach provides portability, consistency, and ease of deployment for a server across different environments. You can easily scale your setup or share it with others, or you can integrate it into larger Docker-based infrastructures.
FAQs on Dockerizing Apache HTTP Server
There are some very Frequently Asked Questions(FAQ) about dockerizing apache HTTP server, this section tries to answer them briefly.
1. How do I configure Apache HTTPD for reverse proxy in Docker?
Configure Apache HTTPD in reverse proxy mode by defining virtual hosts and using ProxyPass directives to backend servers for requests. Properly map the ports and network configuration for your backend applications.
2. How do I handle SSL/TLS certificates with Apache HTTPD in Docker?
Place SSL/TLS certificates in a volume mounted into the container. Set up Apache HTTPD to work with these certificates. Tools like Let's Encrypt can be a good idea when talking about how to handle certificates in your setup with Docker for automatic certificate management.
3. What are the best practices for using Apache HTTPD in Docker?
Use an Apache HTTPD lean image, optimize the configuration files, and leverage Docker's networking functionality. Provide the ability to reconfigure through environment variables. Do add appropriate error handling and logging. Make sure Apache HTTPD and its dependencies are kept up-to-date.