- Docker - Home
- Docker - Overview
- Docker - Installing on Linux
- Docker - Installation
- Docker - Hub
- Docker - Images
- Docker - Containers
- Docker - Registries
- Docker - Compose
- Docker - Working With Containers
- Docker - Architecture
- Docker - Layers
- Docker - Container & Hosts
- Docker - Configuration
- Docker - Containers & Shells
- Docker - Dockerfile
- Docker - Building Files
- Docker - Public Repositories
- Docker - Managing Ports
- Docker - Web Server
- Docker - Commands
- Docker - Container Linking
- Docker - Data Storage
- Docker - Volumes
- Docker - Networking
- Docker - Security
- Docker - Toolbox
- Docker - Cloud
- Docker - Build Cloud
- Docker - Logging
- Docker - Continuous Integration
- Docker - Kubernetes Architecture
- Docker - Working of Kubernetes
- Docker - Generative AI
- Docker - Hosting
- Docker - Best Practices
- Docker - Setting Node.js
- Docker - Setting MongoDB
- Docker - Setting NGINX
- Docker - Setting ASP.Net
- Docker - Setting MySQL
- Docker - Setting Go
- Docker - Setting Rust
- Docker - Setting Apache
- Docker - Setting MariaDB
- Docker - Setting Jupyter
- Docker - Setting Portainer
- Docker - Setting Rstudio
- Docker - Setting Plex
- Docker Setting - Flame
- Docker Setting - PostgreSql
- Docker Setting - Mosquitto
- Docker Setting - Grafana
- Docker Setting - Nextcloud
- Docker Setting - Pawns
- Docker Setting - Ubuntu
- Docker Setting - RabbitMQ
- Docker - Setting Python
- Docker - Setting Java
- Docker - Setting Redis
- Docker - Setting Alpine
- Docker - Setting BusyBox
- Docker Setting - Traefik
- Docker Setting - WordPress
- Docker Useful Resources
- Docker - Quick Guide
- Docker - Useful Resources
- Docker - Discussion
Docker - Setting NGINX
NGINX is an open-source, high-performance web server and reverse proxy mainly used for static content delivery and as a load balancer. It is presently one of the cornerstones of modern web infrastructure due to its efficiency, reliability, and flexibility.
Docker is a platform that helps a great deal in building, shipping, and running applications in isolated environments called containers. Combining NGINX with Docker provides many benefits associated with consistent deployment, better use of system resources, and aligning development workflows.
In this chapter, we will see how to Dockerize an NGINX application. We will begin with the simplest setup of NGINX and then take things to the next level.
Prerequisites
Before learning how to dockerize an NGINX application, ensure you have the following −
- Docker installed − Install and run Docker on your system.
- Basic knowledge of Docker − Knowledge of the concepts related to Docker, like images and containers, along with their associated commands, may be useful.
- Text editor − This will be needed for setting up configuration files.
We will use the official NGINX Docker image as a base for our images.
NGINX Official Image
The NGINX official image is a pre-built Docker image that constitutes NGINX, its web server, and all dependent components of the NGINX package for creating an environment. Docker Hub provides it and is very useful for those who want to begin testing NGINX inside a container.
Key Features of the NGINX Official Image
- Preconfigured NGINX − This image comes preconfigured with default settings for NGINX, thereby saving you some time in getting started.
- Updates are Frequent − The image is kept up-to-date with the latest NGINX versions and security patches.
- Base Image Options − Options of different base images, such as Alpine or Debian, are available in consideration of the requirements of your project.
- Community Support − An active community supports and contributes to the image.
You get a rock-solid, well-maintained base for all your NGINX-based applications by using the official NGINX image.
In the next section, we'll see how to use this image to run a basic web server.
Running a Basic NGINX Web Server Using Docker
Let's try to run a basic NGINX web server using the official image. This will help you understand how to deploy NGINX in a Docker container.
To start an NGINX container, you can use the following Docker run command −
$ docker run -d -p 80:80 nginx
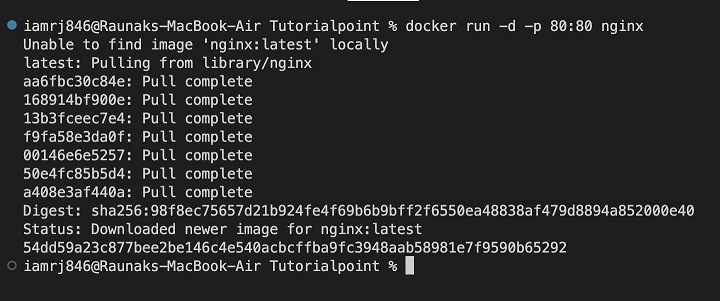
The above command will do the following things −
- docker run − Prompts Docker to run a container.
- -d − It will run the container in detached mode, which means that it runs in the background.
- -p 80:80 − This option allows you to map port 80 of the container to port 80 of the host machine. This allows you to access the web server from your browser.
- nginx − This is the NGINX image to use.
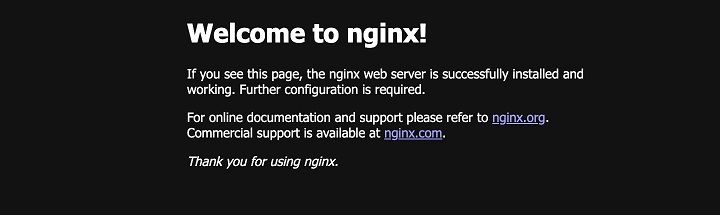
Once the Docker container is up and running, you can try to access the default NGINX welcome page by opening a web browser and navigating to http://localhost.
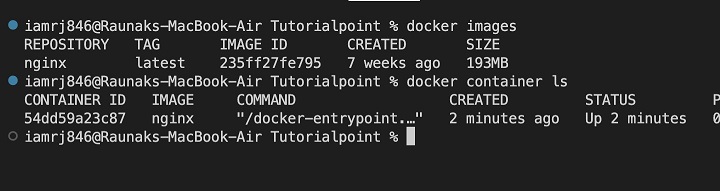
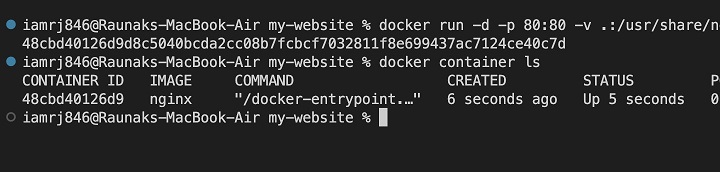
You can use the following commands to check the status of the running container and the image that is being used.
$ docker images
$ docker container ls
In the next section, lets understand how to customize the NGINX server by adding our own HTML content.
Adding Custom HTML
Now that we have already run a basic NGINX server, let's see how to serve custom HTML content. To do that, there are primarily two methods. Lets discuss each of them with examples.
Method 1: Mounting a Local Directory
This method is particularly suitable for development and testing purposes only. In this approach, you can mount a local directory that contains your HTML files to the NGINX default document root within the container. Here's how you can do it −
Step 1: Create a Local Directory
First, create a directory on your host machine that stores your HTML files. For example −
$ mkdir my-website
Step 2: Create an HTML File
Next, create a basic index.html file within this directory called my-website directory that contains your desired content. You can use the following HTML file as an example.
<!DOCTYPE html>
<html lang="en">
<head>
   <meta charset="UTF-8">
   <meta name="viewport" content="width=device-width, initial-scale=1.0">
   <title>TutorialsPoint</title>
   <link href="https://cdn.jsdelivr.net/npm/bootstrap@5.3.2/dist/css/bootstrap.min.css"
      rel="stylesheet" integrity="sha384-T384r9g5NX7H7uNxJA50jNHitoyQbsq5pL2e6vrQHH/7pKcg0Z6L8yfov9Dlcq11"
      crossorigin="anonymous">
</head>
<body>
   <header class="bg-primary text-white py-3">
      <div class="container">
         <h1>Welcome to TutorialsPoint</h1>
      </div>
   </header>

   <div class="container mt-4">
      <h2>Docker Tutorial</h2>
      <p>This is the best tutorial for learning Docker.</p>
      <div class="row">
         <div class="col-md-6">
            <h3>Docker for beginners</h3>
            <p>Learn basic Docker concepts</p>
         </div>
         <div class="col-md-6">
            <h3>Advanced Docker for Professionals</h3>
            <p>Learn advanced Docker concepts</p>
         </div>
      </div>
   </div>

   <footer class="bg-dark text-white py-3">
      <div class="container">
         <p>© 2023 My Website</p>
      </div>
   </footer>

   <script src="https://cdn.jsdelivr.net/npm/bootstrap@5.3.2/dist/js/bootstrap.bundle.min.js"
      integrity="sha384-C89scLLqNg519fKFByD4PnzXjHenriCxxCK5F5+tfE7pdAuB7F_d9VXPsf204/F0"
      crossorigin="anonymous"></script>
</body>
</html>
Run the NGINX container with volume mounting −
$ docker run -d -p 80:80 -v /path/to/my-website:/usr/share/nginx/html nginx
You need to replace /path/to/my-website with the actual path in your local machine that contains the directory with the index.html.
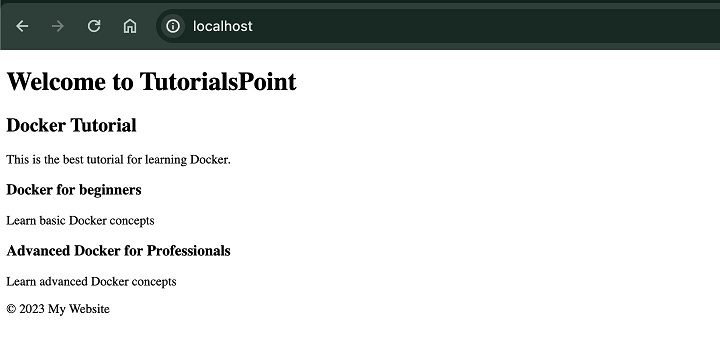
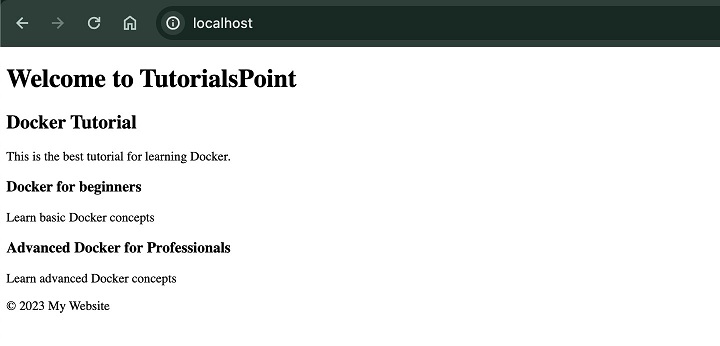
Step 3: Access Your Website
Open a web browser and navigate to http://localhost:80. You should see the content of your index.html file.
Explanation
- Here, we have used the -v flag to mount our local directory (/path/to/my-website) to the /usr/share/nginx/html directory within the container.
- If we make any changes to the local directory, it will be reflected in the container as well. This allows for quick development iterations.
Method 2: Building a Custom NGINX Image
For production environments, it's recommended to create a custom NGINX image using a Dockerfile that includes your HTML files. This will ensure consistency and reproducibility. Here's how you can do it −
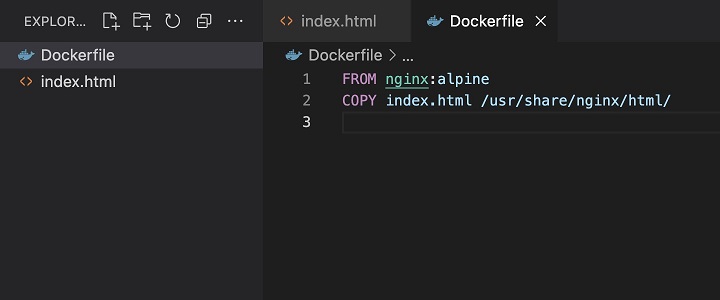
Step 1: Create a Dockerfile
In the same directory that contains the index.html file, create a file named Dockerfile and include the following content −
FROM nginx:alpine

COPY index.html /usr/share/nginx/html/
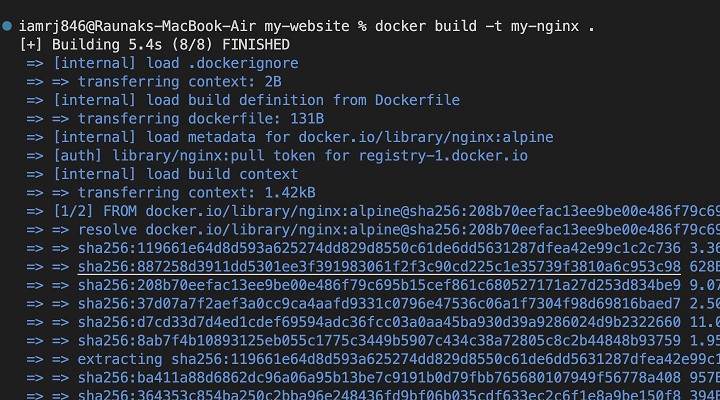
Step 2: Build the Image
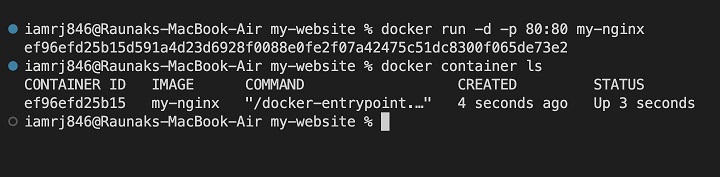
$ docker build -t my-nginx .
Step 3: Run the Container
$ docker run -d -p 80:80 my-nginx
Explanation
- Here, we have created a new Docker image using the nginx:alpine image.
- The COPY instruction will copy your HTML file to the NGINX default document root within the image.
- On building the image, it will create a new image named my-nginx with your custom HTML files.
You can follow either of these methods to serve your custom HTML content using an NGINX Docker container.
In the next section, lets learn how to set up a reverse proxy server.
What is a Reverse Proxy Server?
A reverse proxy server is a gateway between clients and many servers that receives incoming requests and sends them to the most appropriate back-end servers through predefined rules. This provides several benefits −
- Load Balancing − Balances the appropriate load and traffic between multiple servers to boost performance and guarantee reliability.
- Security − Guards the backend servers against malicious requests by acting as a firewall and filtering them out.
- Caching − Improves the performance of an app by locally storing previously accessed content.
- SSL termination − Handles SSL/TLS encryption, offloading the workload from backend servers.
Setting Up a Reverse Proxy with NGINX
NGINX is a very popular choice for creating reverse proxy servers because of its features such as high performance and flexibility. Lets discuss a basic example of how to configure NGINX as a reverse proxy −
Prerequisites
- NGINX is installed and running.
- One or more backend servers with their respective IP addresses and ports.
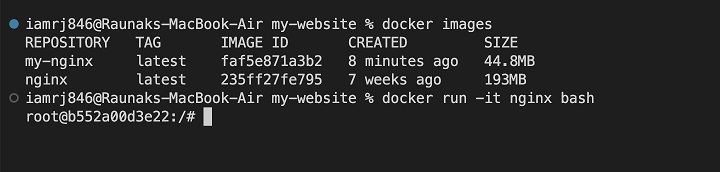
Step 1: Access the bash of an NGINX Container
$ docker run -it nginx bash
Step 2: Create a New NGINX Configuration File
Create a new configuration file in the /etc/nginx/sites-available directory (e.g., my_reverse_proxy) with the following content −
server {
    listen 80;
    server_name your_domain.com;

    location / {
        proxy_pass http://backend_server_ip:backend_server_port;
    }
}
You will have to replace your_domain.com, backend_server_ip, and backend_server_port with your actual values.
Step 3: Create a Symbolic Link
Next, create a symbolic link to the configuration file in the sites-enabled directory −
sudo ln -s /etc/nginx/sites-available/my_reverse_proxy /etc/nginx/sites-enabled/
Step 4: Test and restart NGINX
Check for configuration errors −
sudo nginx -t
If there are no errors, restart NGINX −
sudo systemctl restart nginx
Explanation
- The server block defines a virtual host listening on port 80.
- The listen directive specifies the port to listen on.
- The server_name directive sets the domain name for this server block.
- The location / block matches all requests.
- The proxy_pass directive forwards requests to the specified backend server.
You can follow these steps and customize the configuration according to your specific requirements to set up a reverse proxy server using NGINX.
Conclusion
In this chapter, you have learned how to containerize the NGINX web server in the simplest way which includes running a simple web server, creating custom images, and setting up complex reverse proxy configurations.
You are now equipped with the skills needed to build scalable, secure, high-performance web applications. Whether it be small projects or large-scale deployments, Dockerizing NGINX gives you a robust starting point for your web infrastructure.
FAQs on How to Dockerize an NGINX Application
1. How do I configure NGINX for reverse proxy in Docker?
Set up NGINX as a reverse proxy, by defining upstream servers and creating server blocks for your apps. Use the proxy_pass directive to pass requests on to the correct upstream servers. Make sure of appropriate port mapping and the right network configuration of backend services.
2. How do I handle SSL/TLS certificates with NGINX in Docker?
Store the SSL/TLS certificates in a volume inside the Docker container; configure NGINX to use them. Think about incorporating tools such as Let's Encrypt into the Docker setup to have automated certificate management.
3. How do I troubleshoot NGINX issues in a Docker container?
Use Docker's provided logging to check the logs available for NGINX. Verify NGINX configuration files. Using debugging tools, investigate the NGINX process inside the container currently running. Think about a container orchestration system for better management and troubleshooting.