- Docker - Home
- Docker - Overview
- Docker - Installing on Linux
- Docker - Installation
- Docker - Hub
- Docker - Images
- Docker - Containers
- Docker - Registries
- Docker - Compose
- Docker - Working With Containers
- Docker - Architecture
- Docker - Layers
- Docker - Container & Hosts
- Docker - Configuration
- Docker - Containers & Shells
- Docker - Dockerfile
- Docker - Building Files
- Docker - Public Repositories
- Docker - Managing Ports
- Docker - Web Server
- Docker - Commands
- Docker - Container Linking
- Docker - Data Storage
- Docker - Volumes
- Docker - Networking
- Docker - Security
- Docker - Toolbox
- Docker - Cloud
- Docker - Build Cloud
- Docker - Logging
- Docker - Continuous Integration
- Docker - Kubernetes Architecture
- Docker - Working of Kubernetes
- Docker - Generative AI
- Docker - Hosting
- Docker - Best Practices
- Docker - Setting Node.js
- Docker - Setting MongoDB
- Docker - Setting NGINX
- Docker - Setting ASP.Net
- Docker - Setting MySQL
- Docker - Setting Go
- Docker - Setting Rust
- Docker - Setting Apache
- Docker - Setting MariaDB
- Docker - Setting Jupyter
- Docker - Setting Portainer
- Docker - Setting Rstudio
- Docker - Setting Plex
- Docker Setting - Flame
- Docker Setting - PostgreSql
- Docker Setting - Mosquitto
- Docker Setting - Grafana
- Docker Setting - Nextcloud
- Docker Setting - Pawns
- Docker Setting - Ubuntu
- Docker Setting - RabbitMQ
- Docker - Setting Python
- Docker - Setting Java
- Docker - Setting Redis
- Docker - Setting Alpine
- Docker - Setting BusyBox
- Docker Setting - Traefik
- Docker Setting - WordPress
- Docker Useful Resources
- Docker - Quick Guide
- Docker - Useful Resources
- Docker - Discussion
Docker - Setting RabbitMQ
RabbitMQ is a popular open-source message broker that helps different components of an application communicate with one another. It is especially helpful in distributed systems when asynchronous communication between several services is required.
Network settings, system setups, and dependency management might be difficult to configure when deploying RabbitMQ in multiple types of environments such as staging or production. Docker makes this easier by offering an easily deployable and controlled consistent environment.
In this chapter, lets go through the steps of using Docker to containerize RabbitMQ.
Prerequisites for Dockerizing RabbitMQ
Before containerizing RabbitMQ using Docker, make sure you have these things −
- Basic Docker Knowledge − It will be easier to comprehend if you are familiar with Docker images, containers, and Docker files.
- Fundamentals of RabbitMQ − It is advised to have a basic grasp of message brokers and the function of RabbitMQ in asynchronous communication.
- Docker Setup Complete − Make sure your computer has Docker installed and operational. It is available for download on Docker's official website.
- Editor of Text − For modifying files, a text editor such as Notepad++, VSCode, or Sublime Text will work.
- Command Line Interface (CLI) − You should feel at ease using a command-line interface to issue commands.
Setting up RabbitMQ Project
First, we will create a simple local RabbitMQ project. We will proceed with containerizing RabbitMQ after verifying that everything works as expected.
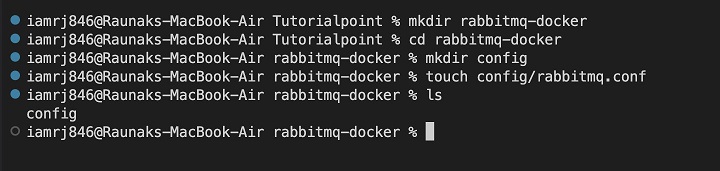
Step 1: Establish a project directory
Make sure to create a directory for your RabbitMQ project first to keep all of your files organized. Docker-related components and configuration files will be located in this folder.
$ mkdir rabbitmq-docker
$ cd rabbitmq-docker
Step 2: Establish a configuration file for RabbitMQ
Custom settings for RabbitMQ can be done using the rabbitmq.conf file. Make a folder for your configuration files in the project directory to have a customized setup −
$ mkdir config
$ touch config/rabbitmq.conf
With your text editor open, you can now add the following settings as a starting point to the rabbitmq.conf file −
# Enable RabbitMQ Management Plugin
management.tcp.port = 15672
management.load_definitions = /config/definitions.json
This configuration file indicates where custom definitions will be loaded from and the administration plugin will be accessible on port 15672.
Step 3: Add RabbitMQ Definitions
With a JSON file, you can predefine users, queues, and exchanges in RabbitMQ. In the config directory, create the following file −
$ touch config/definitions.json
You can include the following definitions in the file −
{
   "vhosts": [{"name": "/"}],
   "users": [
      {
         "name": "admin",
         "password_hash": "hP5sd+9eVPX4gAmx3YJuzCl+FBI=",
         "hashing_algorithm": "rabbit_password_hashing_sha256",
         "tags": "administrator"
      }
   ],
   "permissions": [
      {
         "user": "admin",
         "vhost": "/",
         "configure": ".*",
         "write": ".*",
         "read": ".*"
      }
   ]
}
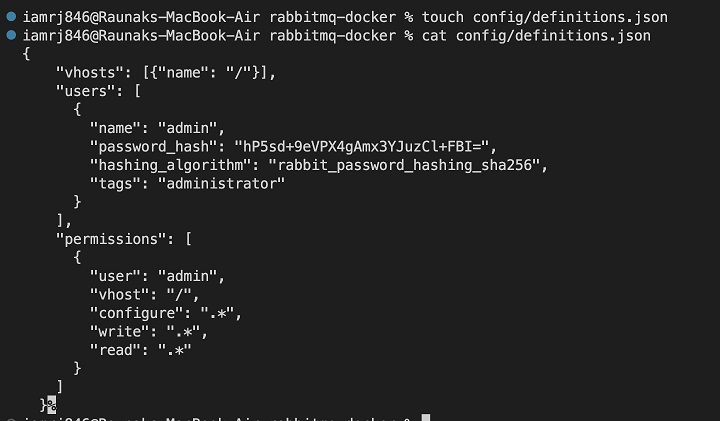
This creates an admin user with full access and a default virtual host (/).
Running RabbitMQ Locally
Lets run RabbitMQ locally first to make sure all configurations are right before containerizing it.
Step 1: Install RabbitMQ Server Locally
Set up RabbitMQ locally on your computer. The installation commands depend on the operating system.
For Ubuntu / Debian −
$ sudo apt-get update
$ sudo apt-get install rabbitmq-server
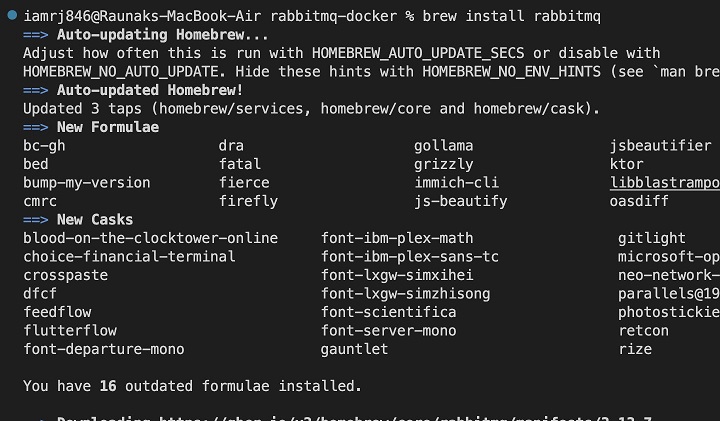
For Homebrew on macOS −
$ brew install rabbitmq
Step 2: Launch RabbitMQ
Once installed, we can launch RabbitMQ using −
$ sudo systemctl start rabbitmq-server
For macOS, you can use −
$ brew services start rabbitmq

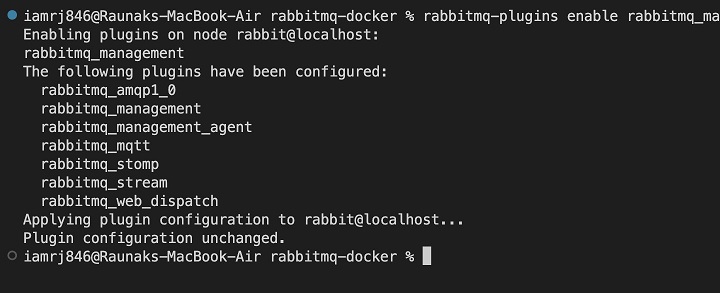
Step 3: Turn on the Management Plugin
RabbitMQ's administration plugin provides an intuitive online interface for tracking and controlling RabbitMQ nodes. You can activate it using the command below.
$ sudo rabbitmq-plugins enable rabbitmq_management
Step 4: Access the RabbitMQ Management Dashboard
Once RabbitMQ and the management plugin have started, launch your browser and go to −
http://localhost:15672
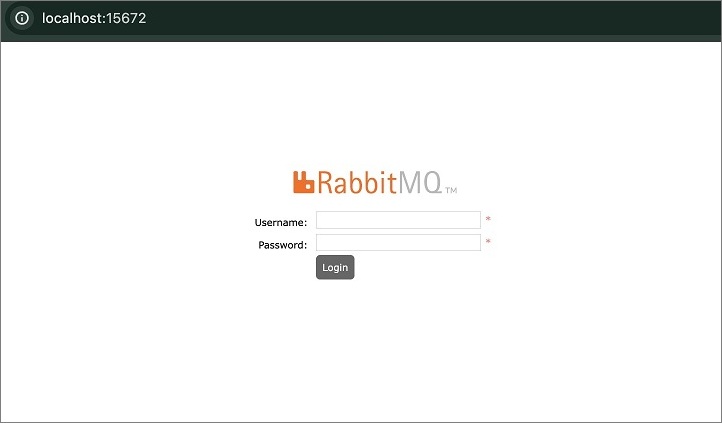
You can use the default credentials (guest for both username and password), but remember to update them via the definitions file or the web interface.
Creating the Dockerfile
Now that RabbitMQ is working locally, let's move on to containerizing it. To do this, we need to create a Dockerfile, which will create a Docker image containing RabbitMQ and its dependencies.
Step 1: Create a Dockerfile
Create a new file called Dockerfile in the project directory −
$ touch Dockerfile

Step 2: Define the Base Image
In the Dockerfile, we will use the RabbitMQ base image. You can use the official RabbitMQ image available on Docker Hub.
FROM rabbitmq:3-management
Step 3: Copy Configuration Files
RabbitMQ expects configuration files in /etc/rabbitmq/ and definition files in a custom directory.
COPY ./config/rabbitmq.conf /etc/rabbitmq/rabbitmq.conf
COPY ./config/definitions.json /etc/rabbitmq/definitions.json
To communicate with the outside world, you must copy the rabbitmq.conf and definitions.json files into the appropriate directories inside the container.
Step 4: Expose Necessary Ports
To communicate with RabbitMQ, you also need to expose the following ports −
- 5672 − Used for AMQP connections.
- 15672 − Used for the management dashboard.
We can specify these ports in your Dockerfile as follows −
EXPOSE 5672 15672
Step 5: Final Dockerfile
# Use the official RabbitMQ image with the management plugin enabled
FROM rabbitmq:3-management

# Copy configuration and definition files
COPY ./config/rabbitmq.conf /etc/rabbitmq/rabbitmq.conf
COPY ./config/definitions.json /etc/rabbitmq/definitions.json

# Expose RabbitMQ and management ports
EXPOSE 5672 15672
Building the RabbitMQ Docker Image
Now that the Dockerfile is ready, we can build the Docker image.
Step 1: Build the Image
Open the terminal, navigate to your project directory, and type the following command −
$ docker build -t my-rabbitmq-image
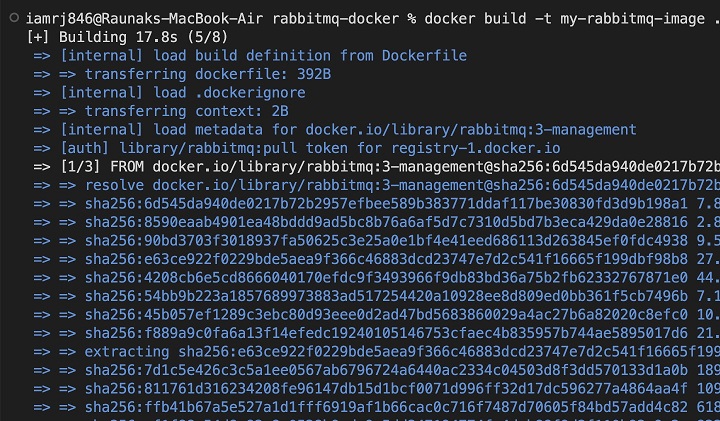
Docker constructs an image based on the Dockerfile when we use the docker build command. We can tag the image using the -t option, and the build context is indicated by the current directory (.).
Step 2: Validate the Image Build
Listing every Docker image on your computer will allow you to confirm that the image was built successfully −
$ docker images

Running the RabbitMQ Docker Container
Once the Docker image is built, let us launch RabbitMQ within a Docker container.
Step 1: Launch the Container
We can use the Docker run command to launch a container from the image we recently created.
$ docker run -d -p 5672:5672 -p 15672:15672 --name my-rabbitmq-container my-rabbitmq-image
The above command does the following:
- -d − Detachable mode (background execution) of the container.
- -p 5672:5672 − Routes port 5672 of RabbitMQ to your local computer.
- -p 15672:15672 − Maps the management plugins port 15672.
- --name my-rabbitmq-container − Assigns a name to the container.
- my-rabbitmq-image − Specifies the image to run.

Step 2: Access the RabbitMQ Dashboard
Once the container is running, you can access RabbitMQs web interface by navigating to −
http://localhost:15672
Conclusion
In this chapter, we have learned how to containerize RabbitMQ with Docker. With Docker, we can run RabbitMQ in a consistent, isolated environment that guarantees portability between development and production.
RabbitMQ can be readily scaled or integrated into a larger containerized application stack with Docker.
FAQs on Containerizing RabbitMQ with Docker
In this section, we have collected a couple of Frequently Asked Questions on how to containerize RabbitMQ with Docker, followed by their answers −
1. How do I configure RabbitMQ for high availability in Docker?
It is possible to set up a cluster of RabbitMQ nodes in Docker to configure RabbitMQ for high availability. To define numerous RabbitMQ containers, each node functioning as a member of the cluster, use Kubernetes or Docker Compose.
Use the queue mirroring and clustering capabilities that RabbitMQ comes with to make sure that messages are replicated throughout nodes for fault tolerance and high availability.
2. How do I monitor RabbitMQ in a Docker container?
To monitor RabbitMQ using its web-based interface, enable the RabbitMQ Management Plugin. RabbitMQ metrics can also be tracked by configuring Prometheus or other monitoring tools by exposing the required ports and interacting with monitoring programs.
Better observability for large-scale deployments is advised by centralizing logging (using Docker logging drivers).