- Docker - Home
- Docker - Overview
- Docker - Installing on Linux
- Docker - Installation
- Docker - Hub
- Docker - Images
- Docker - Containers
- Docker - Registries
- Docker - Compose
- Docker - Working With Containers
- Docker - Architecture
- Docker - Layers
- Docker - Container & Hosts
- Docker - Configuration
- Docker - Containers & Shells
- Docker - Dockerfile
- Docker - Building Files
- Docker - Public Repositories
- Docker - Managing Ports
- Docker - Web Server
- Docker - Commands
- Docker - Container Linking
- Docker - Data Storage
- Docker - Volumes
- Docker - Networking
- Docker - Security
- Docker - Toolbox
- Docker - Cloud
- Docker - Build Cloud
- Docker - Logging
- Docker - Continuous Integration
- Docker - Kubernetes Architecture
- Docker - Working of Kubernetes
- Docker - Generative AI
- Docker - Hosting
- Docker - Best Practices
- Docker - Setting Node.js
- Docker - Setting MongoDB
- Docker - Setting NGINX
- Docker - Setting ASP.Net
- Docker - Setting MySQL
- Docker - Setting Go
- Docker - Setting Rust
- Docker - Setting Apache
- Docker - Setting MariaDB
- Docker - Setting Jupyter
- Docker - Setting Portainer
- Docker - Setting Rstudio
- Docker - Setting Plex
- Docker Setting - Flame
- Docker Setting - PostgreSql
- Docker Setting - Mosquitto
- Docker Setting - Grafana
- Docker Setting - Nextcloud
- Docker Setting - Pawns
- Docker Setting - Ubuntu
- Docker Setting - RabbitMQ
- Docker - Setting Python
- Docker - Setting Java
- Docker - Setting Redis
- Docker - Setting Alpine
- Docker - Setting BusyBox
- Docker Setting - Traefik
- Docker Setting - WordPress
- Docker Useful Resources
- Docker - Quick Guide
- Docker - Useful Resources
- Docker - Discussion
Docker - Setting Rust
Rust is a general-purpose programming language that offers memory safety, concurrency, and high performance. Memory Safety guarantees that all references will always point to valid memory; however, this memory comes without a garbage collector. To simultaneously enforce memory safety and prevent data races, its "borrow checker" tracks the object lifetime of all references in a program during compiling.
Docker, on the other hand, is a platform for developing, shipping, and running applications in containers. It provides a way to package an application along with its dependencies into one unit. This guarantees consistency in running an application across diverse environments.
Why Dockerize a Rust Application?
- Portability − It will allow you to package your Rust app and its dependencies into one container, thus, making it easy to deploy and run on different systems.
- Isolation − Containers offer a sandboxed environment to avoid conflicts between various applications.
- Reproducibility − Using the same Docker Image, you can easily reproduce and scale the application instances and their environment configurations.
- Efficiency − Since Docker containers can be spun up and shut down very quickly, they are very useful in a microservices architecture.
Prerequisites for Dockerizing Rust
Before we start, please make sure that you have the following installed −
- Rust − You can download and install the Rust compiler from https://www.rust-lang.org/.
- Docker − You can download and install Docker Desktop or Docker Engine from https://www.docker.com/.
- A Code Editor − You can choose your preferred code editor, such as Visual Studio Code, IntelliJ IDEA, or Vim.
Setting up a Rust Core Project
- Fire up your terminal or command prompt.
- Navigate to the desired directory.
- Create a new Rust project using the cargo new command.
$ cargo new my-rust-app
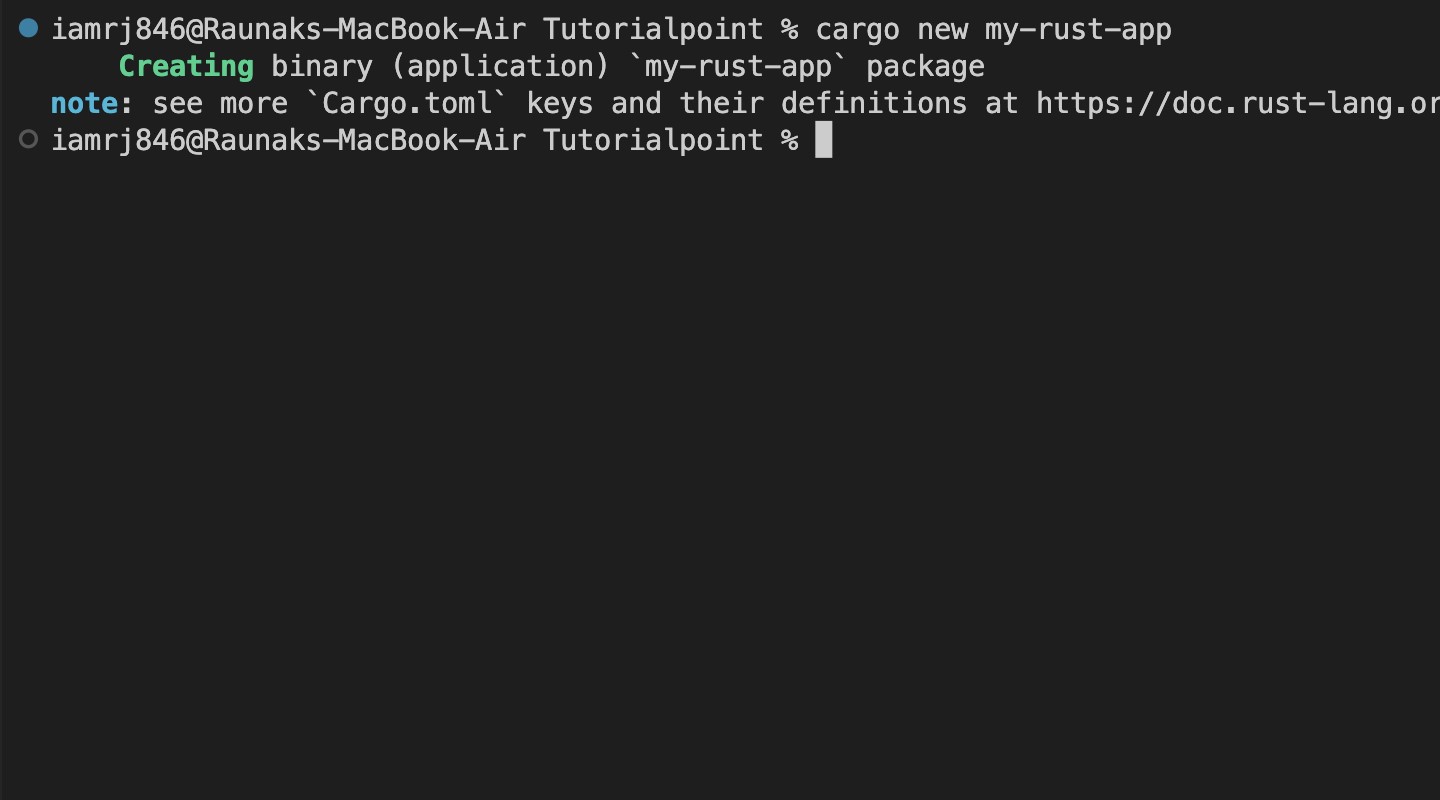
When you run this command, it will create a new directory named my-rust-app with a basic Rust project structure.
Project Structure
This project directory will have the following structure −
my-rust-app/

 Cargo.toml

 src

     main.rs
Cargo.toml − This file contains metadata about your project, including dependencies and version information.
src/main.rs − This is the main source file where you'll write your Rust code.
Adding a Basic Rust Program
Lets create a basic Rust program for demo purposes. You can open the src/main.rs file and replace the contents with the following code −
fn main() {

   println!("Hello, world!");

}
When we run this simple program, it just prints "Hello, world!" to the console.
Running the Rust Project Locally
To run the project locally, you can navigate to the project directory and run the following command −
$ cargo run
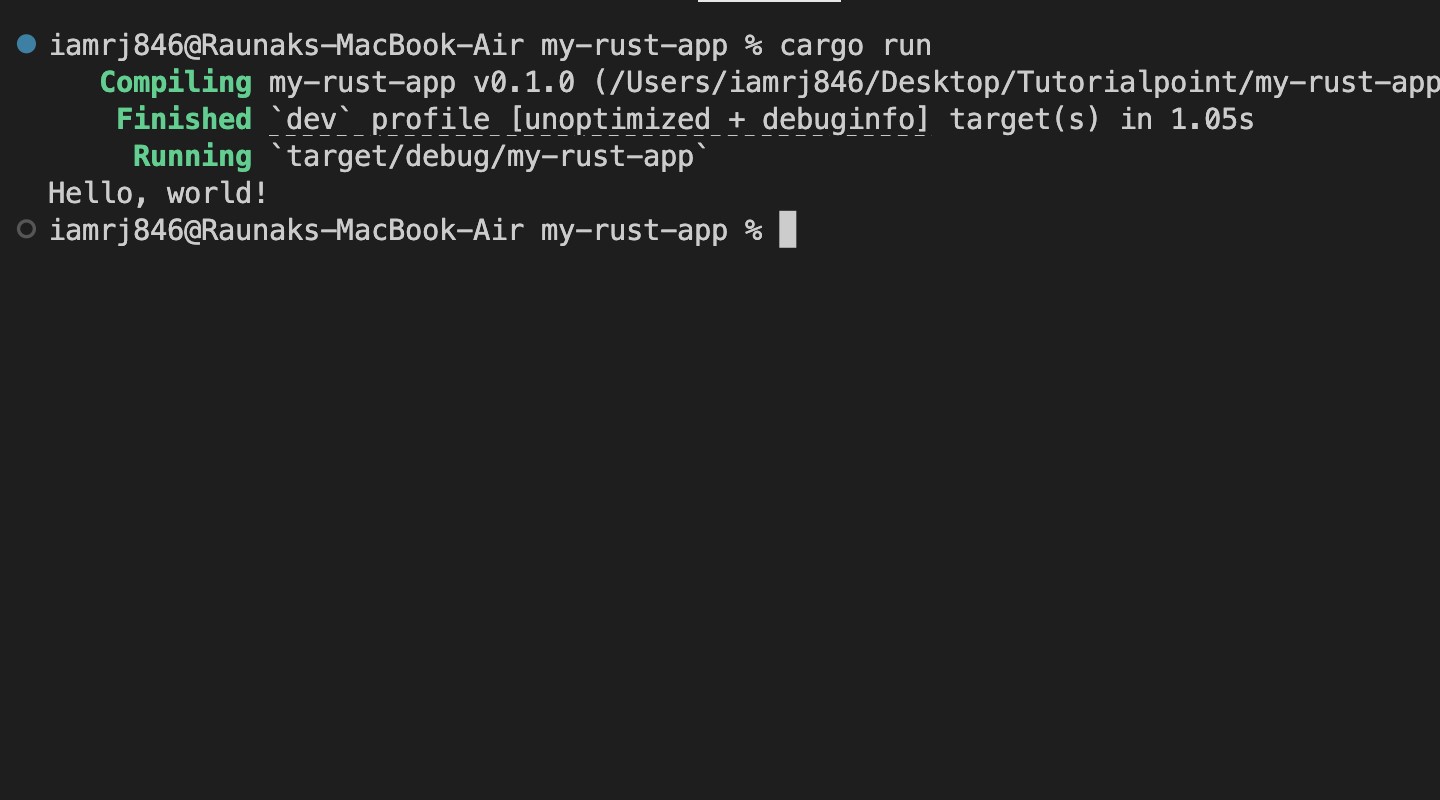
On running the above command, it will compile the Rust code and run the executable. You can see the output "Hello, world!" in your terminal.
Creating the Dockerfile
As we have already discussed in the previous chapters, a Dockerfile is a text document that contains instructions for building a Docker image. Here, we define the base image, dependencies, and all the commands needed to create a runnable container.
Creating a New Dockerfile
Create a new file called Dockerfile in the root directory of your Rust project.
Defining the Base Image
A popular choice for Rust applications is the rust:alpine image. It provides a lightweight Alpine Linux environment with the Rust compiler and standard libraries.
Add the base image to your Dockerfile −
FROM rust:alpine
Copying the Project Files
The next instruction is to copy the contents of your project directory to the container −
COPY . /app
This instruction will copy the entire project, including the Cargo.toml file and src directory, to the /app directory within the container.
Setting the Working Directory
Set the working directory to the /app directory −
WORKDIR /app
Building the Rust Application
The next instruction is to run the cargo build command to build your Rust application:
RUN cargo build --release
This instruction will help you to compile your Rust code in release mode and thus, optimize it for performance.
Exposing a Port (Optional)
If your application listens on a specific port, you can expose it −
EXPOSE 8080
You can replace 8080 with the actual port your application uses.
Defining the Entrypoint
You can now specify the command to run when the container starts −
ENTRYPOINT ["target/release/your-app-name"]
Please replace your-app-name with the actual name of your compiled Rust executable.
Complete Dockerfile Example
FROM rust:alpine
COPY . /app
WORKDIR /app
RUN cargo build --release
EXPOSE 8080
ENTRYPOINT ["target/release/my-rust-app"]
Copy the contents above to your Dockerfile.
Building the Rust Docker Image
Now that you have already created the Dockerfile, you can build the Rust Docker image.
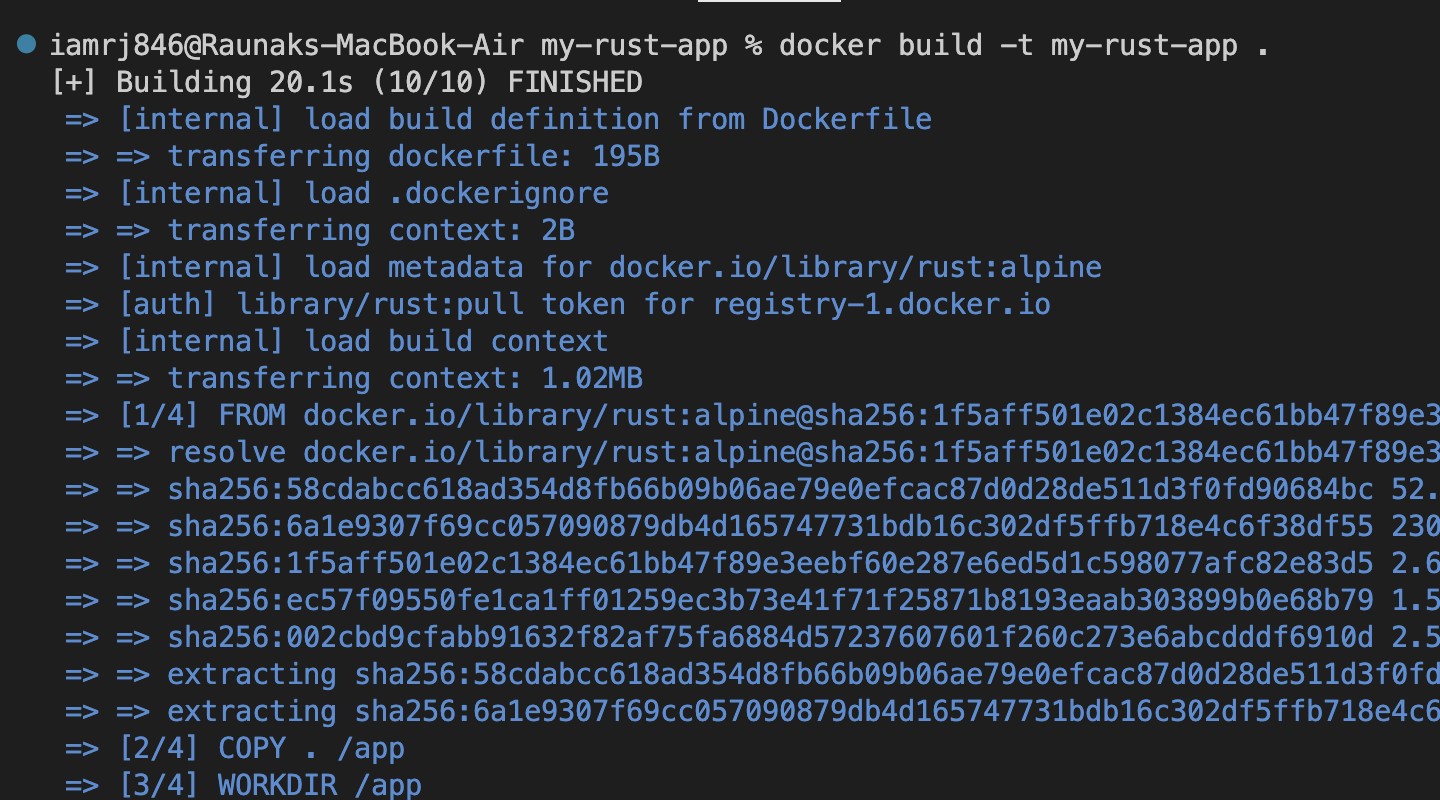
Building the Image
Fire up your terminal or cmd and navigate to your project directory.
Run the docker build command below −
$ docker build -t my-rust-app .
"-t my-rust-app" − This part of the command specifies the tag for your Docker image. You can replace my-rust-app with any desired name.
".": This dot indicates that the Dockerfile is located in the current directory.
Verifying the Image
If you want to verify that the image has been built successfully, you can list all your Docker images by running the following command −
$ docker images

You can see our newly created my-rust-app image in the list.
Pushing the Image to a Registry (Optional)
If you want to share your Docker image with others or deploy it to a production environment, you can easily push it to a Docker registry like Docker Hub, Amazon ECR, or Google Container Registry.
For example, to push your image to Docker Hub, you'll have to create a Docker Hub account and log in −
$ docker login
Then, you can push the image to your Docker Hub repository −
$ docker push your-docker-hub-username/my-rust-app
You can replace your-docker-hub-username with your actual Docker Hub username.
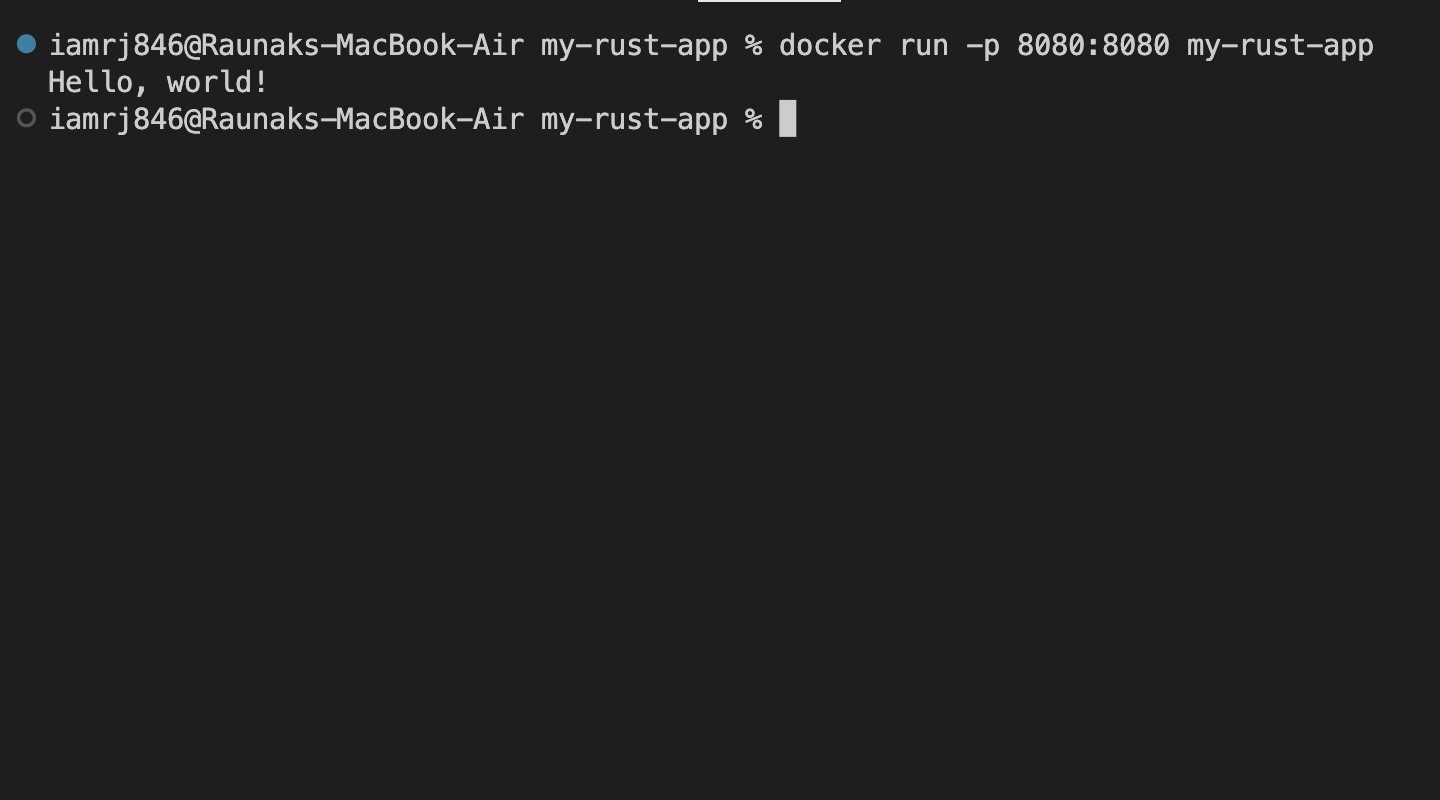
Running the Rust Docker Container
Now that you have the Docker Image for your Rust application ready, you can run it as a container.
Running the Container
$ docker run -p 8080:8080 my-rust-app
-p 8080:8080 − This flag helps you to map port 8080 on your host machine to port 8080 inside the container.
my-rust-app − It specifies the name of your Docker image.
Additional Commands
List running containers:
docker ps
Stop a container:
docker stop <container_id>
Remove a container:
docker rm <container_id>
Remove an image:
docker rmi <image_id>
After following these steps, you have successfully Dockerized your Rust application and can now deploy it to different environments.
Conclusion
In this chapter, we learned how to Dockerize a Rust application. First, we created a simple project in Rust, then made a Dockerfile that would define what is inside and how the image was configured. Then, build the Docker image and run it finally in a Docker container.
As the next steps in your development journey, you can work on advanced Docker topics such as multi-stage builds, Docker Compose, and other container orchestration tools like Kubernetes.
FAQs on Dockerizing a Rust Application
There are some very Frequently Asked Questions(FAQ) about dockerizing a rust application, this section tries to answer them briefly.
1. How do I handle dependencies in a Dockerized Rust application?
Use cargo to manage dependencies for your Rust project. The cargo.lock file will lock dependencies to specific versions, which will make sure the builds are consistent. When creating the Docker image, the cargo command will resolve dependencies and download them on its own.
2. What are the best practices for Dockerizing Rust applications?
First is using the smallest possible base image required by an application, optimizing the build process by passing environment variables, and leveraging multi-stage builds. Consider using a non-root user for security purposes, excluding unnecessary files with a .dockerignore file.
3. How can I improve the performance of a Dockerized Rust application?
Make your Dockerized Rust application very fast by optimizing the base image and compiling a release binary of your application. Profile it to disclose the bottlenecks of the app. Other than that, different approaches to Docker image layers and build caching could be tried.