- Git - Home
- Git - Version Control
- Git - Basic Concepts
- Git - Command Line
- Git - Installation
- Git - First Time Setup
- Git - Basic Commands
- Git - Getting Help
- Git - Tools
- Git - Cheat Sheet
- Git - Terminology
- Git - Life Cycle
- Git - Get a Repository
- Git - Adding New Files
- Git - Recording Changes
- Git - Viewing Commit History
- Git Branching
- Git - Branches in a Nutshell
- Git - Creating a New Branch
- Git - Switching Branches
- Git - Branching and Merging
- Git - Merge Conflicts
- Git - Managing Branches
- Git - Branching Workflows
- Git - Remote Branches
- Git - Tracking Branches
- Git - Rebasing
- Git - Rebase vs. Merge
- Git - Squash Commits
- Git Operations
- Git - Clone Operation
- Git - Tagging Operation
- Git - Aliases Operation
- Git - Commit Operation
- Git - Stash Operation
- Git - Move Operation
- Git - Rename Operation
- Git - Push Operation
- Git - Pull Operation
- Git - Fork Operation
- Git - Patch Operation
- Git - Diff Operation
- Git - Status Operation
- Git - Log Operation
- Git - Head Operation
- Git - Origin Master
- Git Undoing
- Git - Undoing Changes
- Git - Checkout
- Git - Revert
- Git - Reset
- Git - Restore Operation
- Git - Rm
- Git - Switch Operation
- Git - Cherry-pick
- Git - Amend
- Git on the Server
- Git - Local Protocol
- Git - Smart HTTP Protocol
- Git - Dumb HTTP Protocol
- Git - The SSH Protocol
- Git - The Git Protocol
- Git - Getting Git on a Server
- Git - Setting up the Server
- Git - Daemon
- Git - GitWeb
- Git - GitLab
- Git - Third Party Hosted Options
- Distributed Git
- Git - Distributed Workflows
- Git - Contributing to a Project
- Git - Maintaining a Project
- Customizing Git
- Git - Configuration
- Git - Hooks
- Git - Attributes
- Git - Init
- Git - Commit
Git Installation
Installation of any software is important, as it lets you use its features and functions that you want. In order to use Git effectively, you need to install it first and if it is already installed, you need to upgrade it to the latest version.
Git can be installed on Windows using the build available on the Git website for download, which is the Standalone Installer. The latest 64-bit version of Git for Windows is 2.44.0.
Installation on Windows
Git can be installed on Windows using the build available on the Git website for download, which is the Standalone Installer. The latest 64-bit version of Git for Windows is 2.44.0.
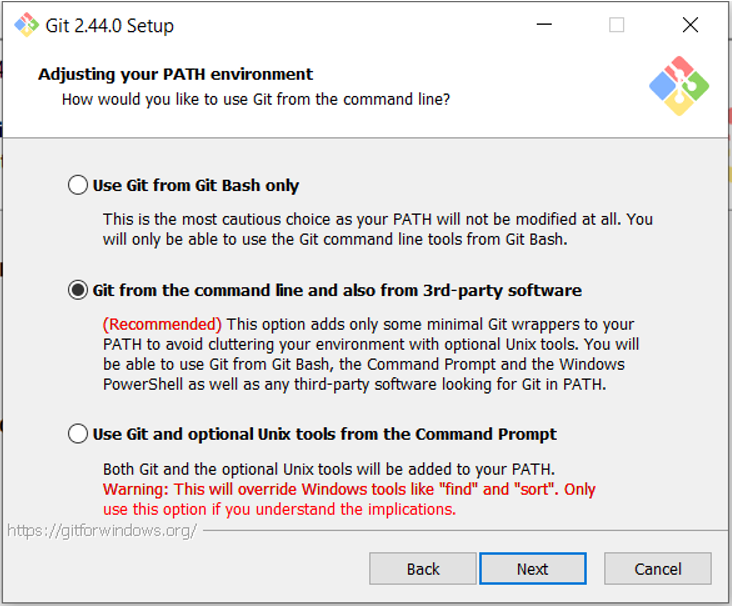
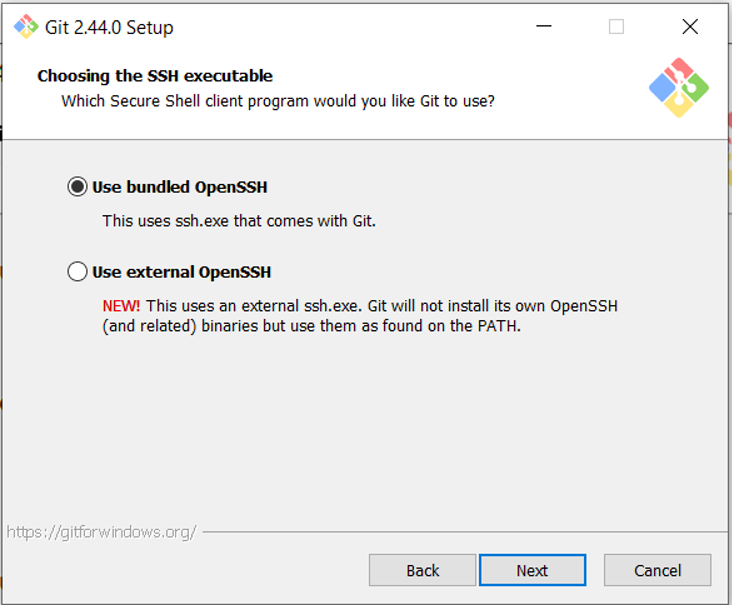
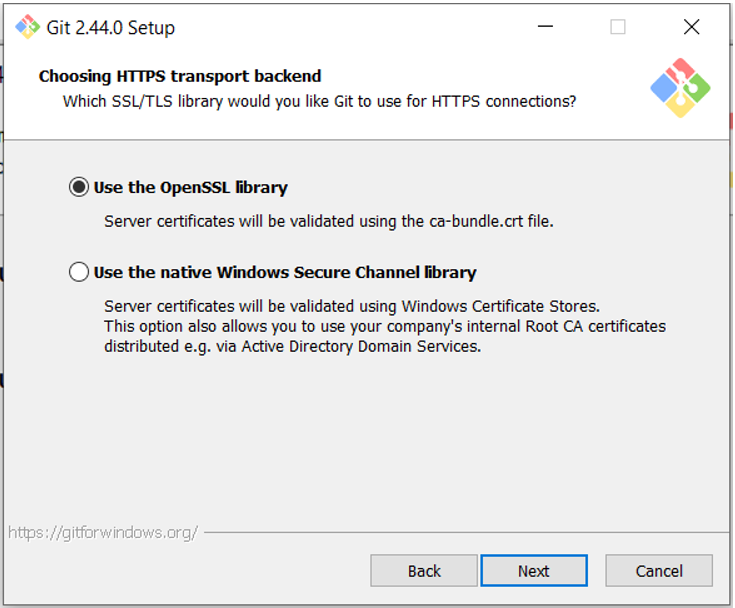
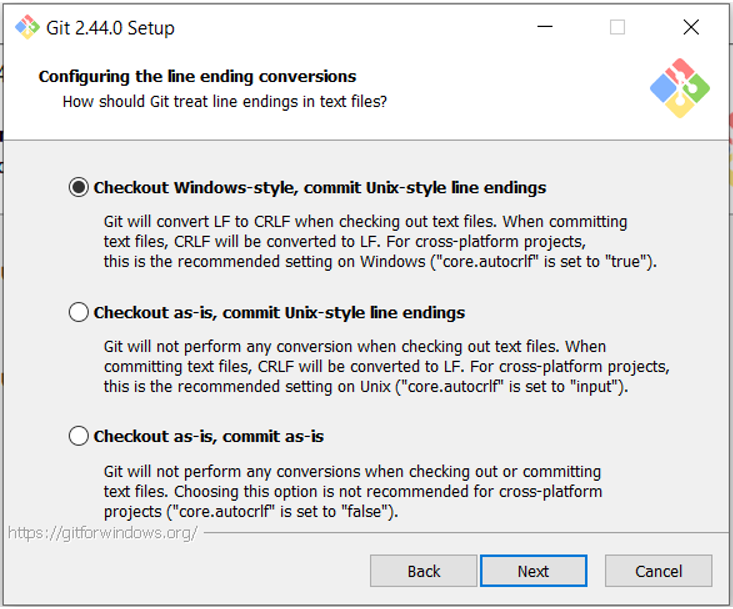
Refer the following steps and screenshots for detailed information on installation:
1. Check whether git is installed on your machine by running this command on command prompt: git --version
$ git --version
2. Go to the Git Website to download Git for Windows.
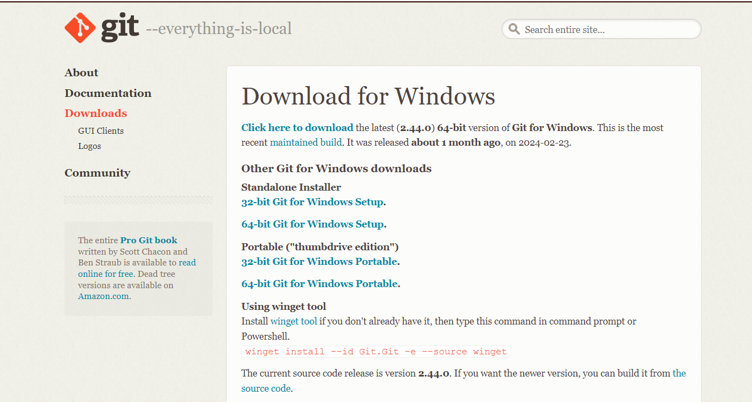
3. Click on the link to download the latest version of Git.
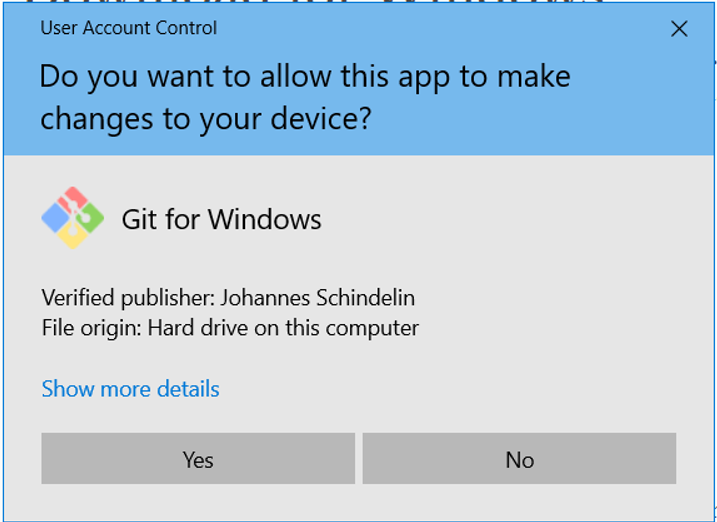
4. Click on Yes.
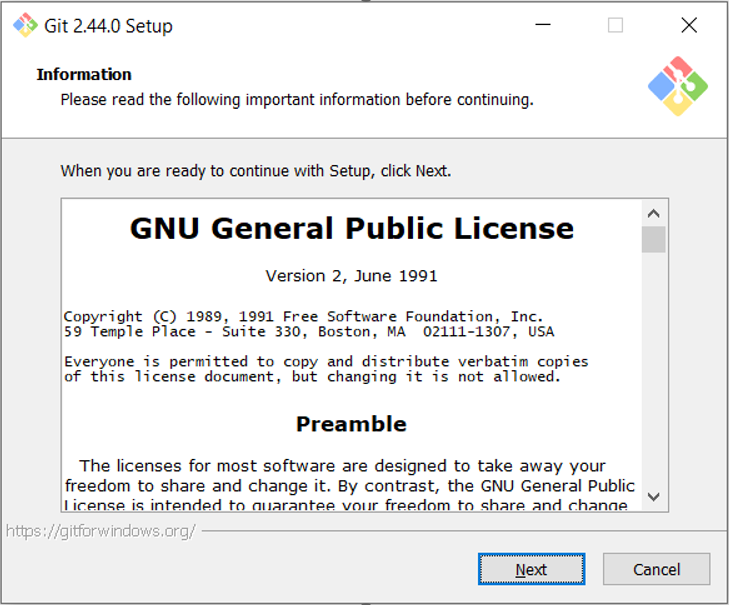
5. Click on Next button of the dialog box.
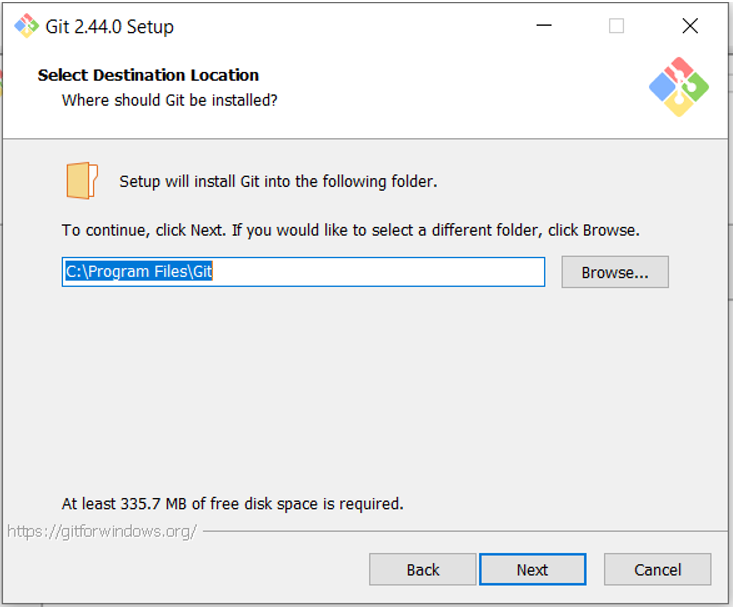
6. Set the location and click on Next.
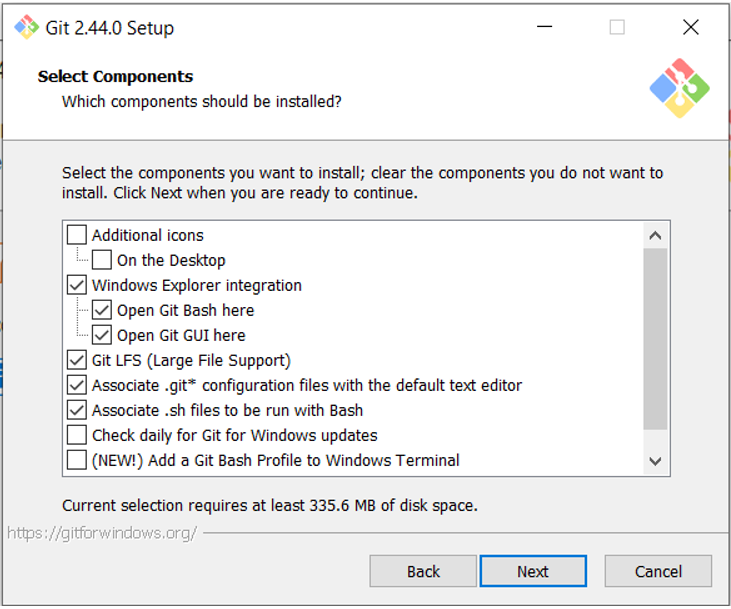
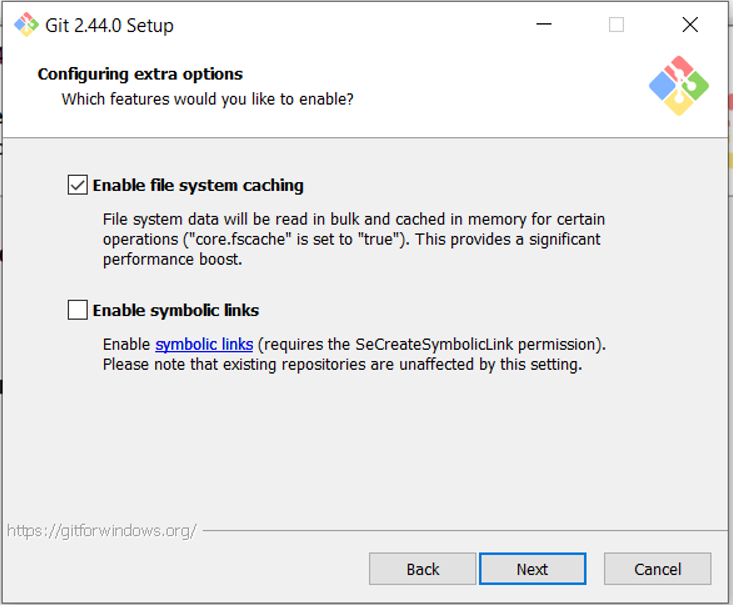
7. Click on Next.
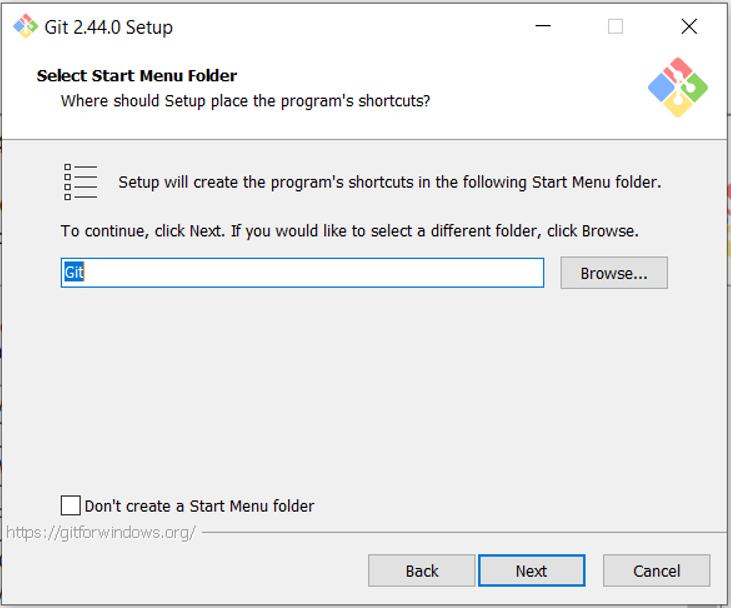
8. Click on Next.
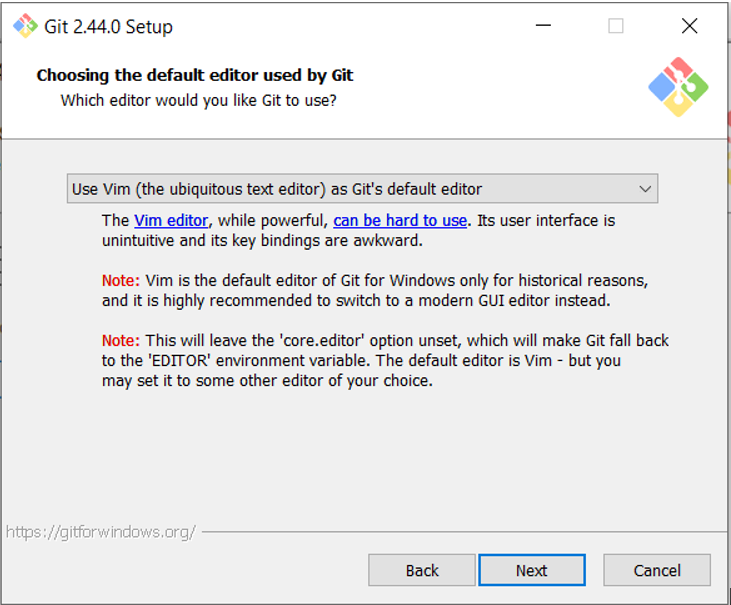
9. Click on Next.
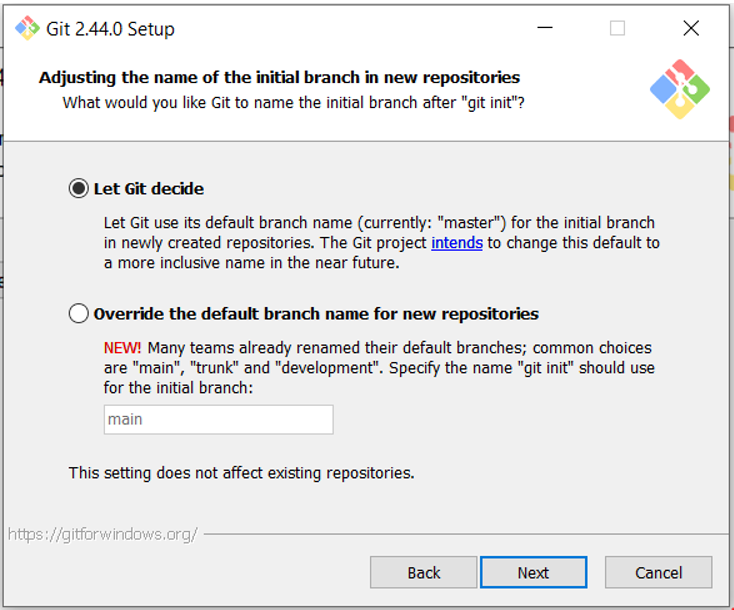
10. Click on Next.
11. Click on Next.
12. Click on Next.
13. Click on Next.
14. Click on Next.
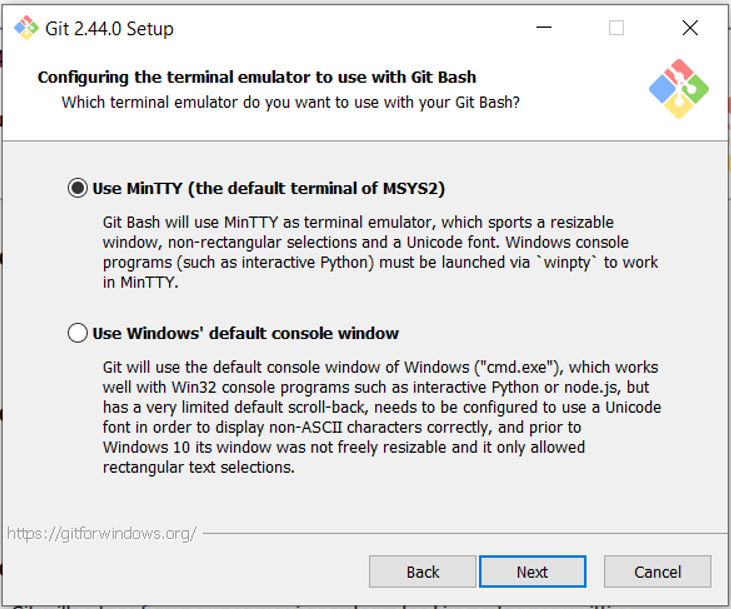
15. Click on Next.
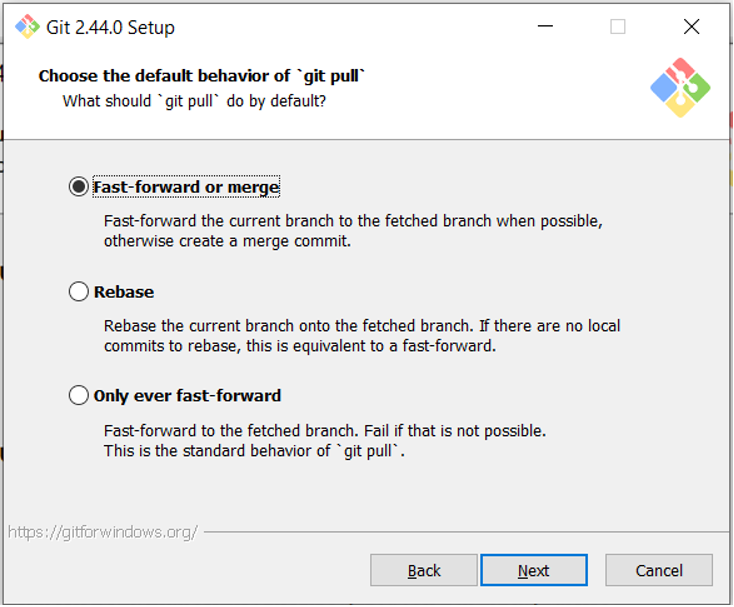
16. Click on Next.
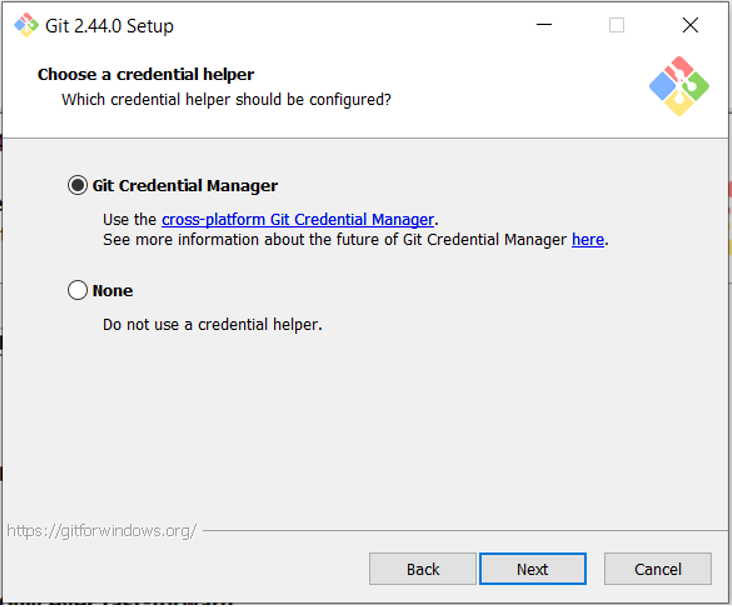
17. Click on Next.
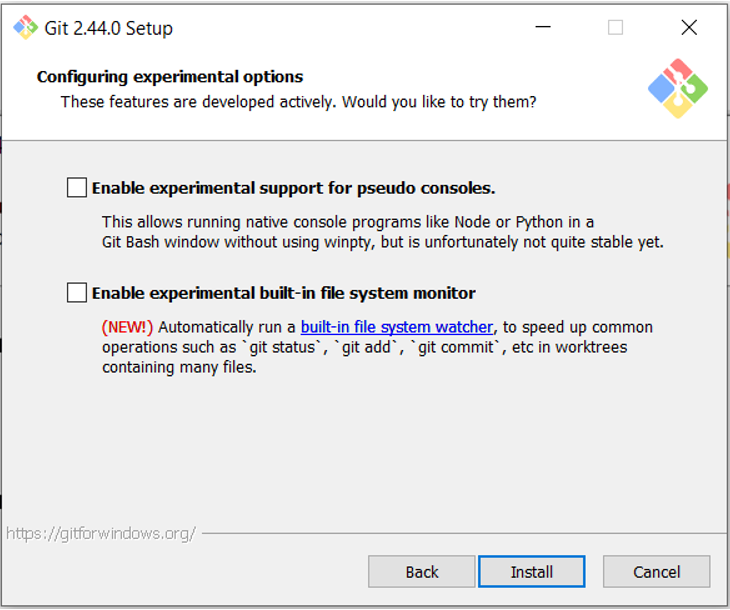
18. Click on Install.
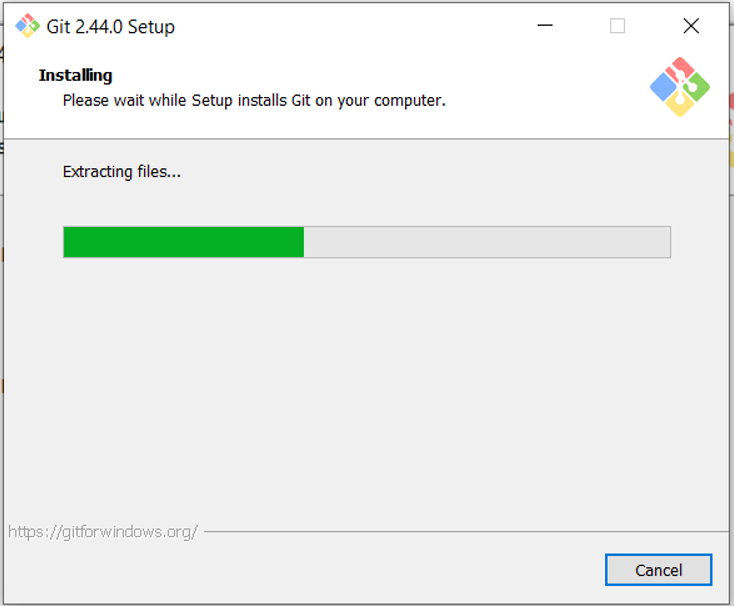
19. The screen shows that the files are getting extracted and installed. Do not click on Cancel.
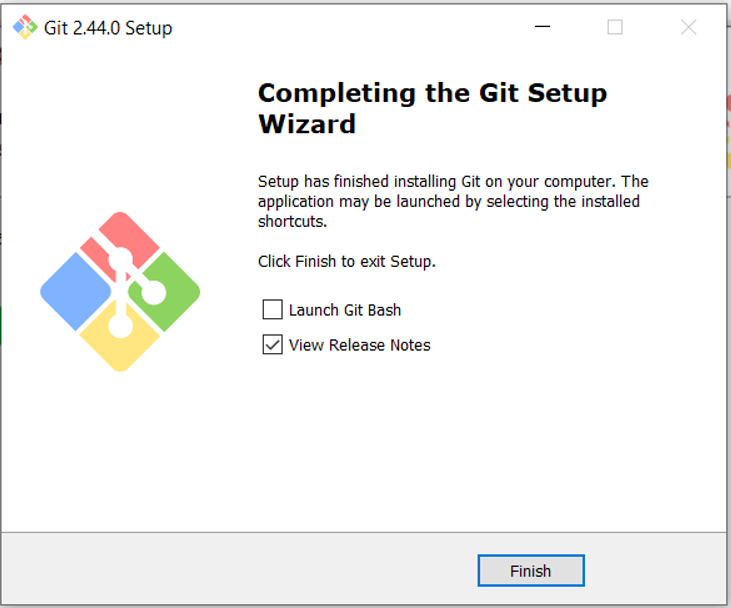
20. Click on Finish to complete the installation.
21. To check whether git installed or not, open a command prompt and enter the following command: git version
$ git version
Portable "thumbdrive" Edition
The portable edition involves downloading the portable version of Git, extracting it to a location on your computer, and configuring it to be accessible from the command line. Here's a step-by-step guide:
A Portable "thumbdrive" edition lets a user access Git from any device, where the files can be simply copied to a thumbdrive and accessed from there.
Download Git Portable:
Visit the official Git website to download the portable edition.
Go to the Portable section.
Click the Portable link to download the portable edition of Git for Windows.
Extract Git Portable
Navigate to the directory where the Git portable zip file was downloaded, after successful download.
Extract the contents of the zip file to a location on your computer. You can extract it to any folder where you want Git to be stored.
Add Git to the System Path
In order to use Git from the command line, you need to add the location of the Git executable to your system's PATH environment variable.
Right-click on This PC or My Computer (depending on your Windows version) and select Properties.
Click on Advanced system settings on the left sidebar.
In the System Properties window, click on the Environment Variables... button.
In the System variables section, select the Path variable and click on the Edit... button.
Click on the New button and add the path to the bin directory inside the directory where you extracted Git portable. For example, if you extracted Git to C:\Git, add C:\Git\bin to the PATH variable.
Click OK on all windows to save your changes.
Test Git Installation
Open a new Command Prompt window.
Type git --version and press Enter. You should see the Git version information if Git is installed correctly.
You can install Git using winget tool. In case you don't have winget tool, you need to install it first and then type the following command in command prompt or Powershell.
winget install --id Git.Git -e --source winget
The other way to get the Git installed on Windows is using the project called, Git for Windows, which is different from Git itself. Refer the link https://gitforwindows.org for futher information on it.
Last but not the least, you can also get the automated installation using the Git Chocolatey package, which is maintained by the community.
Installation on Linux
The basic Git tools can be installed on Linux through a binary installer. You can use dnf, if you are on Fedora or any other similar RPM-based distribution, like RHEL or CentOS −
$ sudo dnf install git-all
Use apt if you are using a Debian-based distribution, such as Ubuntu −
$ sudo apt install git-all
Instructions for installing the Git on various different Unix distributions, you can refer this link https://git-scm.com/download/linux.
Installation on macOS
Git can be installed on macOS using different ways. The simplest way is to install the Xcode Command Line Tools. To find out whether Git is installed, open a terminal and enter the following command −
$ git --version
If Git is not already installed, the system will prompt you to install it.
Git can also be installed using a stand-alone installer for macOS. Download the latest Git for mac installer. Follow the installation steps and check for successful installation using the command on terminal.
Installation from Source
Installing Git from a source can be very useful as it gets the most recent version, which is not in the case of binary installers. For installing Git from source, you should have the following libraries: autotools, curl, zlib, openssl, expat, and libiconv. For instance, you can use the following commands to install the dependencies for compiling and installing the Git binaries −
For a system that has dnf, such as Fedora/RHEL/RHEL-derivatives −
$ sudo dnf install dh-autoreconf curl-devel expat-devel gettext-devel \
openssl-devel perl-devel zlib-devel
$ sudo dnf install getopt
For a system that has apt-get, such as Debian/Ubuntu/Ubuntu-derivatives −
$ sudo apt-get install dh-autoreconf libcurl4-gnutls-dev libexpat1-dev \
gettext libz-dev libssl-dev
$ sudo apt-get install install-info
After getting all the dependencies installed, you can get the latest release tarball from kernel.org, ie. https://www.kernel.org/pub/software/scm/git or https://github.com/git/git/tags.
Lastly you need to compile and install:
$ tar -zxf git-2.8.0.tar.gz
$ cd git-2.8.0
$ make configure
$ ./configure --prefix=/usr
$ make all doc info
$ sudo make install install-doc install-html install-info
In order to get the updated Git, use the following command:
$ git clone https://git.kernel.org/pub/scm/git/git.git