- Javascript Basics Tutorial
- Javascript - Home
- JavaScript - Roadmap
- JavaScript - Overview
- JavaScript - Features
- JavaScript - Enabling
- JavaScript - Placement
- JavaScript - Syntax
- JavaScript - Hello World
- JavaScript - Console.log()
- JavaScript - Comments
- JavaScript - Variables
- JavaScript - let Statement
- JavaScript - Constants
- JavaScript - Data Types
- JavaScript - Type Conversions
- JavaScript - Strict Mode
- JavaScript - Reserved Keywords
- JavaScript Operators
- JavaScript - Operators
- JavaScript - Arithmetic Operators
- JavaScript - Comparison Operators
- JavaScript - Logical Operators
- JavaScript - Bitwise Operators
- JavaScript - Assignment Operators
- JavaScript - Conditional Operators
- JavaScript - typeof Operator
- JavaScript - Nullish Coalescing Operator
- JavaScript - Safe Assignment Operator
- JavaScript - Delete Operator
- JavaScript - Comma Operator
- JavaScript - Grouping Operator
- JavaScript - Yield Operator
- JavaScript - Spread Operator
- JavaScript - Exponentiation Operator
- JavaScript - Operator Precedence
- JavaScript Control Flow
- JavaScript - If...Else
- JavaScript - While Loop
- JavaScript - For Loop
- JavaScript - For...in
- Javascript - For...of
- JavaScript - Loop Control
- JavaScript - Break Statement
- JavaScript - Continue Statement
- JavaScript - Switch Case
- JavaScript - User Defined Iterators
- JavaScript Functions
- JavaScript - Functions
- JavaScript - Function Expressions
- JavaScript - Function Parameters
- JavaScript - Default Parameters
- JavaScript - Function() Constructor
- JavaScript - Function Hoisting
- JavaScript - Self-Invoking Functions
- JavaScript - Arrow Functions
- JavaScript - Function Invocation
- JavaScript - Function call()
- JavaScript - Function apply()
- JavaScript - Function bind()
- JavaScript - Closures
- JavaScript - Variable Scope
- JavaScript - Global Variables
- JavaScript - Smart Function Parameters
- JavaScript Objects
- JavaScript - Number
- JavaScript - Boolean
- JavaScript - Strings
- JavaScript - Arrays
- JavaScript - Date
- JavaScript - DataView
- JavaScript - Handler
- JavaScript - Math
- JavaScript - RegExp
- JavaScript - Symbol
- JavaScript - Sets
- JavaScript - WeakSet
- JavaScript - Maps
- JavaScript - WeakMap
- JavaScript - Iterables
- JavaScript - Reflect
- JavaScript - TypedArray
- JavaScript - Template Literals
- JavaScript - Tagged Templates
- Object Oriented JavaScript
- JavaScript - Objects
- JavaScript - Classes
- JavaScript - Object Properties
- JavaScript - Object Methods
- JavaScript - Static Methods
- JavaScript - Display Objects
- JavaScript - Object Accessors
- JavaScript - Object Constructors
- JavaScript - Native Prototypes
- JavaScript - ES5 Object Methods
- JavaScript - Encapsulation
- JavaScript - Inheritance
- JavaScript - Abstraction
- JavaScript - Polymorphism
- JavaScript - Destructuring
- JavaScript - Destructuring Assignment
- JavaScript - Object Destructuring
- JavaScript - Array Destructuring
- JavaScript - Nested Destructuring
- JavaScript - Optional Chaining
- JavaScript - Global Object
- JavaScript - Mixins
- JavaScript - Proxies
- JavaScript Versions
- JavaScript - History
- JavaScript - Versions
- JavaScript - ES5
- JavaScript - ES6
- ECMAScript 2016
- ECMAScript 2017
- ECMAScript 2018
- ECMAScript 2019
- ECMAScript 2020
- ECMAScript 2021
- ECMAScript 2022
- JavaScript Asynchronous
- JavaScript - Asynchronous
- JavaScript - Callback Functions
- JavaScript - Promises
- JavaScript - Async/Await
- JavaScript - Microtasks
- JavaScript - Promisification
- JavaScript - Promises Chaining
- JavaScript - Timing Events
- JavaScript - setTimeout()
- JavaScript - setInterval()
- JavaScript Cookies
- JavaScript - Cookies
- JavaScript - Cookie Attributes
- JavaScript - Deleting Cookies
- JavaScript Browser BOM
- JavaScript - Browser Object Model
- JavaScript - Window Object
- JavaScript - Document Object
- JavaScript - Screen Object
- JavaScript - History Object
- JavaScript - Navigator Object
- JavaScript - Location Object
- JavaScript - Console Object
- JavaScript Web APIs
- JavaScript - Web API
- JavaScript - History API
- JavaScript - Storage API
- JavaScript - Forms API
- JavaScript - Worker API
- JavaScript - Fetch API
- JavaScript - Geolocation API
- JavaScript Events
- JavaScript - Events
- JavaScript - DOM Events
- JavaScript - addEventListener()
- JavaScript - Mouse Events
- JavaScript - Keyboard Events
- JavaScript - Form Events
- JavaScript - Window/Document Events
- JavaScript - Event Delegation
- JavaScript - Event Bubbling
- JavaScript - Event Capturing
- JavaScript - Custom Events
- JavaScript Error Handling
- JavaScript - Error Handling
- JavaScript - try...catch
- JavaScript - Debugging
- JavaScript - Custom Errors
- JavaScript - Extending Errors
- JavaScript Important Keywords
- JavaScript - this Keyword
- JavaScript - void Keyword
- JavaScript - new Keyword
- JavaScript - var Keyword
- JavaScript HTML DOM
- JavaScript - HTML DOM
- JavaScript - DOM Methods & Properties
- JavaScript - DOM Document
- JavaScript - DOM Elements
- JavaScript - DOM Attributes (Attr)
- JavaScript - DOM Forms
- JavaScript - Changing HTML
- JavaScript - Changing CSS
- JavaScript - DOM Animation
- JavaScript - DOM Navigation
- JavaScript - DOM Collections
- JavaScript - DOM NodeList
- JavaScript - DOM DOMTokenList
- JavaScript Advanced Chapters
- JavaScript - Bubble Sort Algorithm
- JavaScript - Circular Reference Error
- JavaScript - Code Testing with Jest
- JavaScript - CORS Handling
- JavaScript - Data Analysis
- JavaScript - Dead Zone
- JavaScript - Design Patterns
- JavaScript - Engine and Runtime
- JavaScript - Execution Context
- JavaScript - Function Composition
- JavaScript - Immutability
- JavaScript - Kaboom.js
- JavaScript - Lexical Scope
- JavaScript - Local Storage
- JavaScript - Memoization
- JavaScript - Minifying JS
- JavaScript - Mutability vs Immutability
- JavaScript - Package Manager
- JavaScript - Parse S-Expressions
- JavaScript - Prototypal Inheritance
- JavaScript - Reactivity
- JavaScript - Require Function
- JavaScript - Selection API
- JavaScript - Session Storage
- JavaScript - SQL CRUD Operations
- JavaScript - Supercharged Sorts
- JavaScript - Temporal Dead Zone
- JavaScript - Throttling
- JavaScript - TRPC Library
- JavaScript - Truthy and Falsy Values
- JavaScript - Upload Files
- JavaScript - Date Comparison
- JavaScript - Recursion
- JavaScript - Data Structures
- JavaScript - Base64 Encoding
- JavaScript - Callback Function
- JavaScript - Current Date/Time
- JavaScript - Date Validation
- JavaScript - Filter Method
- JavaScript - Generating Colors
- JavaScript - HTTP Requests
- JavaScript - Insertion Sort
- JavaScript - Lazy Loading
- JavaScript - Linked List
- JavaScript - Nested Loop
- JavaScript - Null Checking
- JavaScript - Get Current URL
- JavaScript - Graph Algorithms
- JavaScript - Higher Order Functions
- JavaScript - Empty String Check
- JavaScript - Form Handling
- JavaScript - Functional Programming
- JavaScript - Parameters vs Arguments
- JavaScript - Prototype
- JavaScript - Reactive Programming
- JavaScript - Reduce Method
- JavaScript - Rest Operator
- JavaScript - Short Circuiting
- JavaScript - Undefined Check
- JavaScript - Unit Testing
- JavaScript - Validate URL
- JavaScript Miscellaneous
- JavaScript - Ajax
- JavaScript - Async Iteration
- JavaScript - Atomics Objects
- JavaScript - Rest Parameter
- JavaScript - Page Redirect
- JavaScript - Dialog Boxes
- JavaScript - Page Printing
- JavaScript - Validations
- JavaScript - Animation
- JavaScript - Multimedia
- JavaScript - Image Map
- JavaScript - Browsers
- JavaScript - JSON
- JavaScript - Multiline Strings
- JavaScript - Date Formats
- JavaScript - Get Date Methods
- JavaScript - Set Date Methods
- JavaScript - Modules
- JavaScript - Dynamic Imports
- JavaScript - BigInt
- JavaScript - Blob
- JavaScript - Unicode
- JavaScript - Shallow Copy
- JavaScript - Call Stack
- JavaScript - Reference Type
- JavaScript - IndexedDB
- JavaScript - Clickjacking Attack
- JavaScript - Currying
- JavaScript - Graphics
- JavaScript - Canvas
- JavaScript - Debouncing
- JavaScript - Performance
- JavaScript - Style Guide
JavaScript - Kaboom.js
Kaboom.js makes it easy to create JavaScript games. You can add physics, detect collisions and make sprites in addition to controlling different scenes. By using Kaboom.js, you can focus on making an engaging and creative game instead of writing complex code. Think about adding other features like backgrounds, power-ups or scoring to further enhance your game!
Getting Started with Kaboom
To start your Kaboom application you need to call Kaboom to initialize the Kaboom contexts −
kaboom({
   global: true,
});
If you build your application in your code editor, be careful to import both your JS file and the Kaboom.JS library into your HTML file.
<!DOCTYPE html>
<html lang="en">
<head>
    <meta charset="UTF-8">
    <meta name="viewport" content="width=device-width, initial-scale=1.0">
    <title>Simple Kaboom Game</title>
    <script src="https://kaboomjs.com/lib/0.5.0/kaboom.js"></script>
</head>
<body>
    <script src="example.js"></script>
</body>
</html>
Create your Scene
In Kaboom, everything is a component of a scenario. The scenario is essentially how the game will look, behave, and play out.
kaboom({
   global: true,
});

scene("main", () => {
   //...
   }
]);
In the example above, the scene method is activated for our "main" scene, and the other game elements are given inside the function. Lastly, we need to call the scene by using start at the end.
Load your Sprites and Create Player
Now we will have to start "drawing" our sprites onto our game UI. A sprite is a two-dimensional bitmap contained in a larger scene, usually in a 2D video game. For this chapter, we will use a Yeti sprite grabbed from Imgur.
To load our sprites and build our players, we will use the load sprite method, enter our sprite image information and then create the player in the scene.In the previous example, we call the scene method for our "main" scene and pass the remaining game pieces to the function. Finally, we must use "start at the end" to refer to the scenario.
kaboom({
  global: true,
});

loadRoot('https://i.imgur.com/');
loadSprite('yeti', 'OqVwAm6.png');

scene('main', () => {
  const yeti = add([
   sprite('yeti'),
   pos(80, 80),
   color(255, 188, 0),
  ]);
});

start('main');
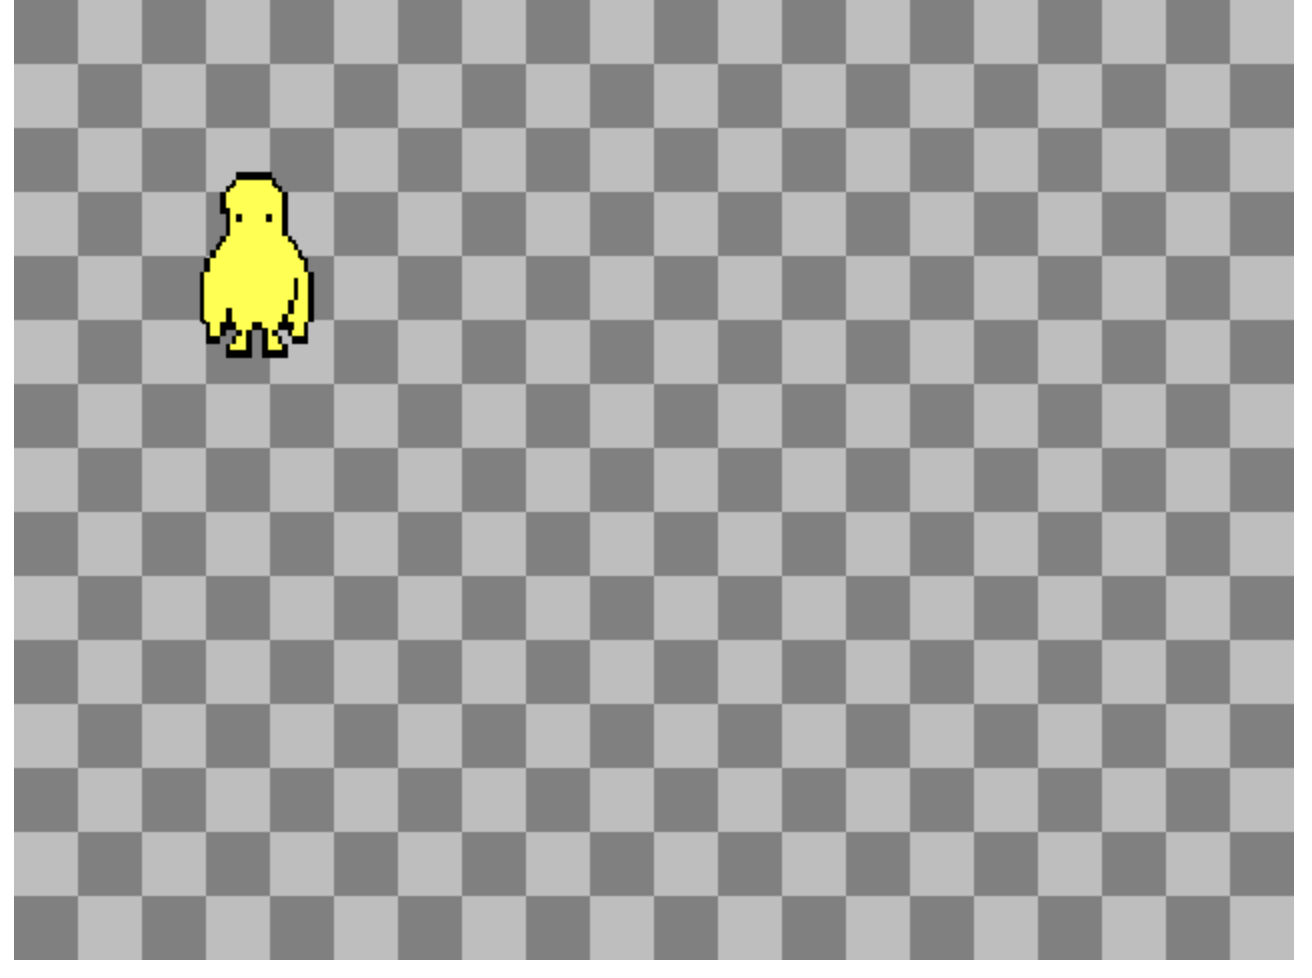
If your code is accurate, you should see a yeti sprite on screen. Right-click your index.html file, copy the path, and paste it into a new browser page.
Output
This will generate the below result −
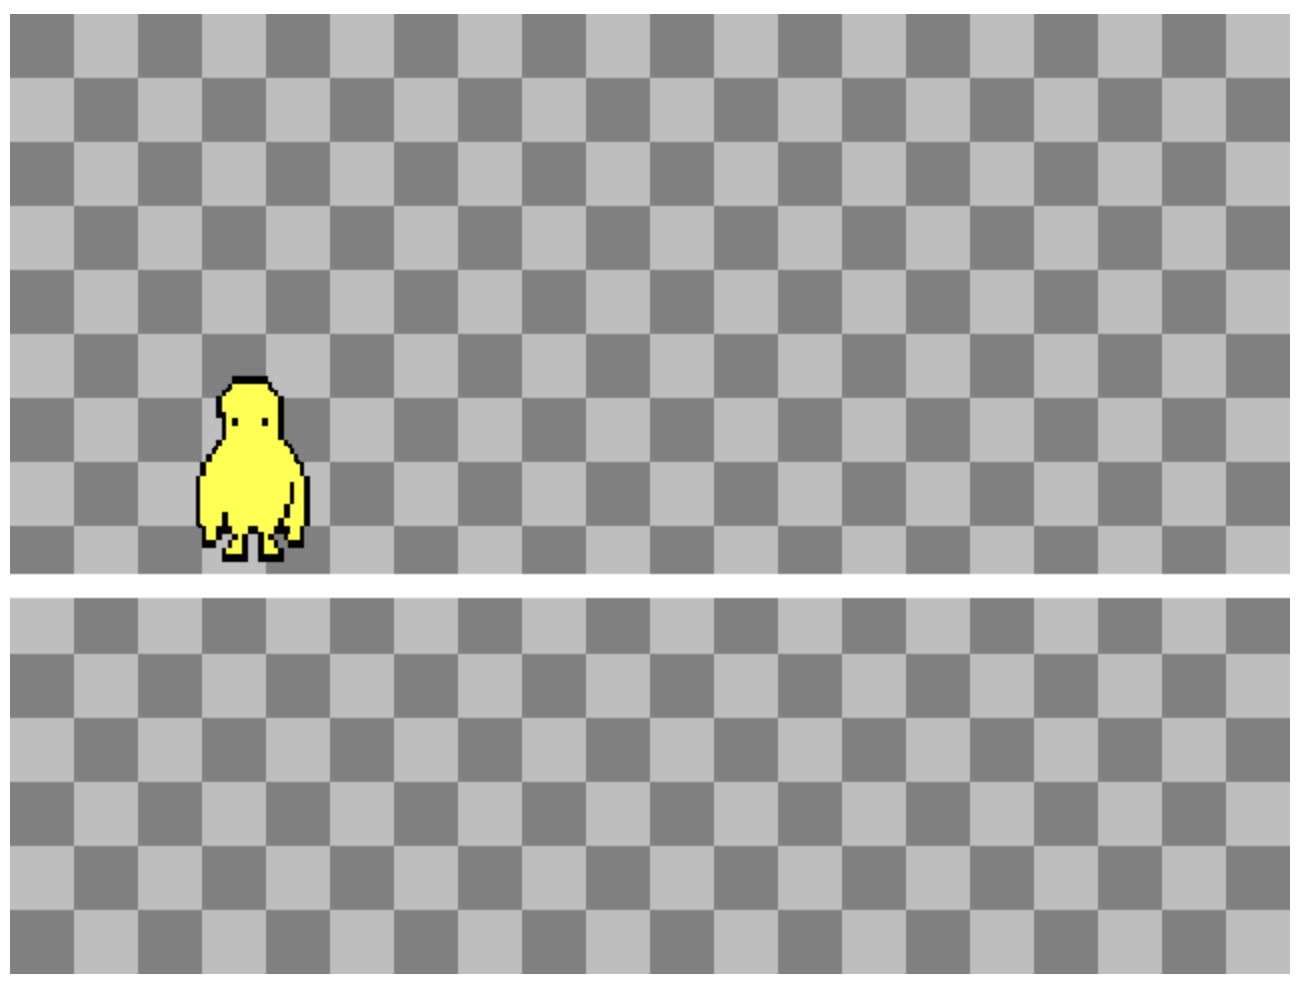
We'll begin by adding the body component to your initialized sprite. This method effectively forces your sprite to follow the "rules of gravity". Once this method is run, your sprite will begin to slide off the screen, therefore we will have to create a temporary platform as well.
kaboom({
  global: true,
});

loadRoot('https://i.imgur.com/');
loadSprite('yeti', 'OqVwAm6.png');

scene('main', () => {
  const yeti = add([
   sprite('yeti'),
   pos(80, 80),
   color(255, 188, 0),
   body(),
  ]);

  // Add the ground
  add([
    rect(width(), 12),
    pos(0, 280),
    origin('topleft'),
    solid(),
  ]);
});

start('main');
Output
This will produce the following result −
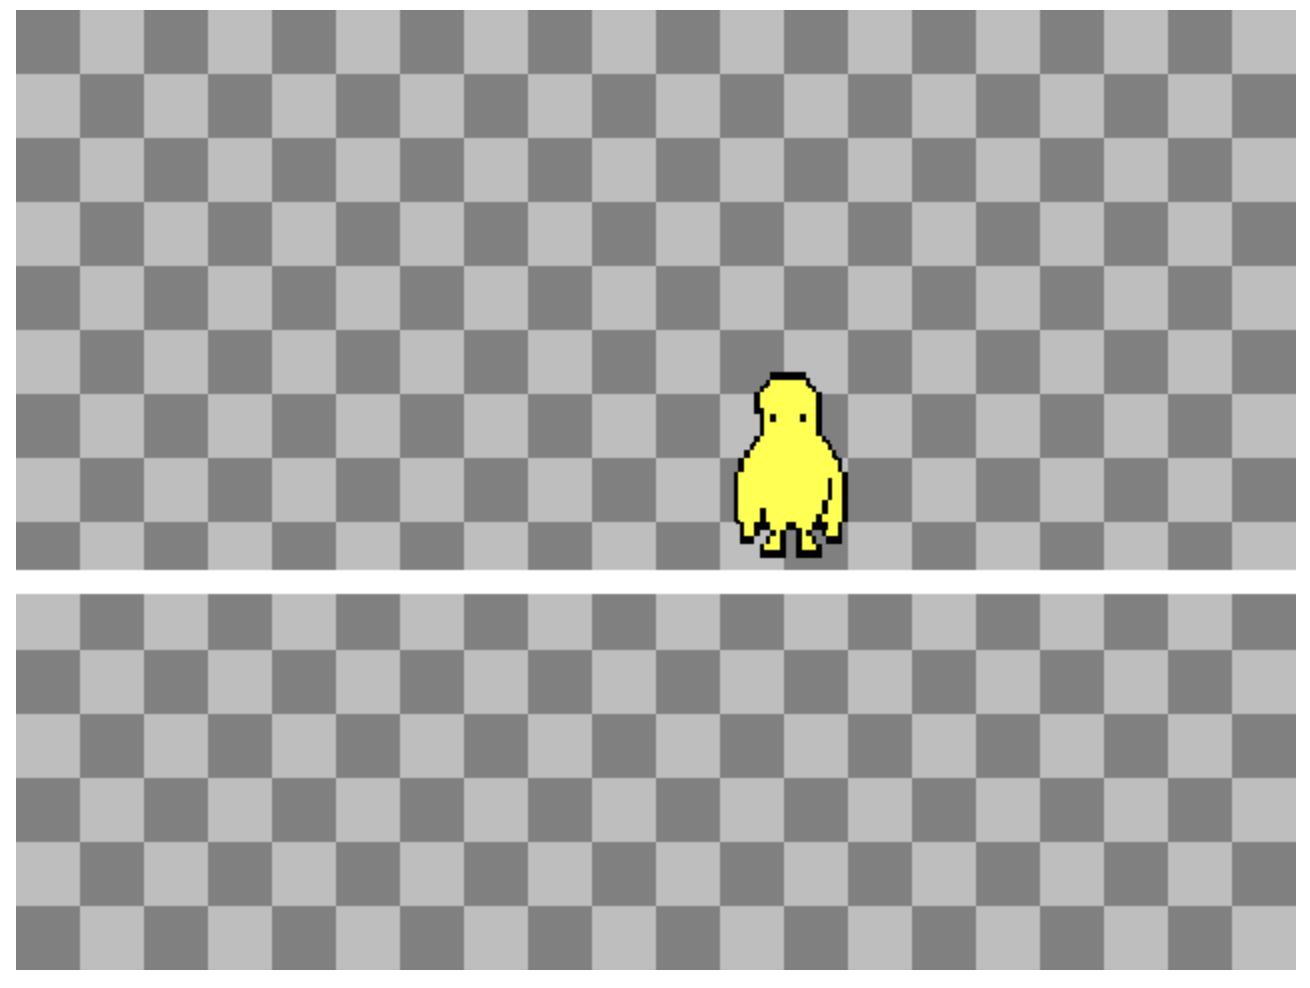
Kaboom Key Events
The body method allows your sprite to use methods like
kaboom({
  global: true,
});

loadRoot('https://i.imgur.com/');
loadSprite('yeti', 'OqVwAm6.png');

scene('main', () => {
  const yeti = add([
    sprite('yeti'),
    pos(80, 80),
    color(255, 188, 0),
    body(),
  ]);

  // Add the ground
  add([
    rect(width(), 12),
    pos(0, 280),
    origin('topleft'),
    solid(),
  ]);

  // Add controls for jump and move
  const JUMP_FORCE = 320;
  const MOVE_SPEED = 120;

  keyPress("space", () => {
    yeti.jump(JUMP_FORCE);
  });

  keyDown("left", () => {
    yeti.move(-MOVE_SPEED, 0);
  });

  keyDown("right", () => {
    yeti.move(MOVE_SPEED, 0);
  });
});

start('main');
Output
This will generate the following outcome −
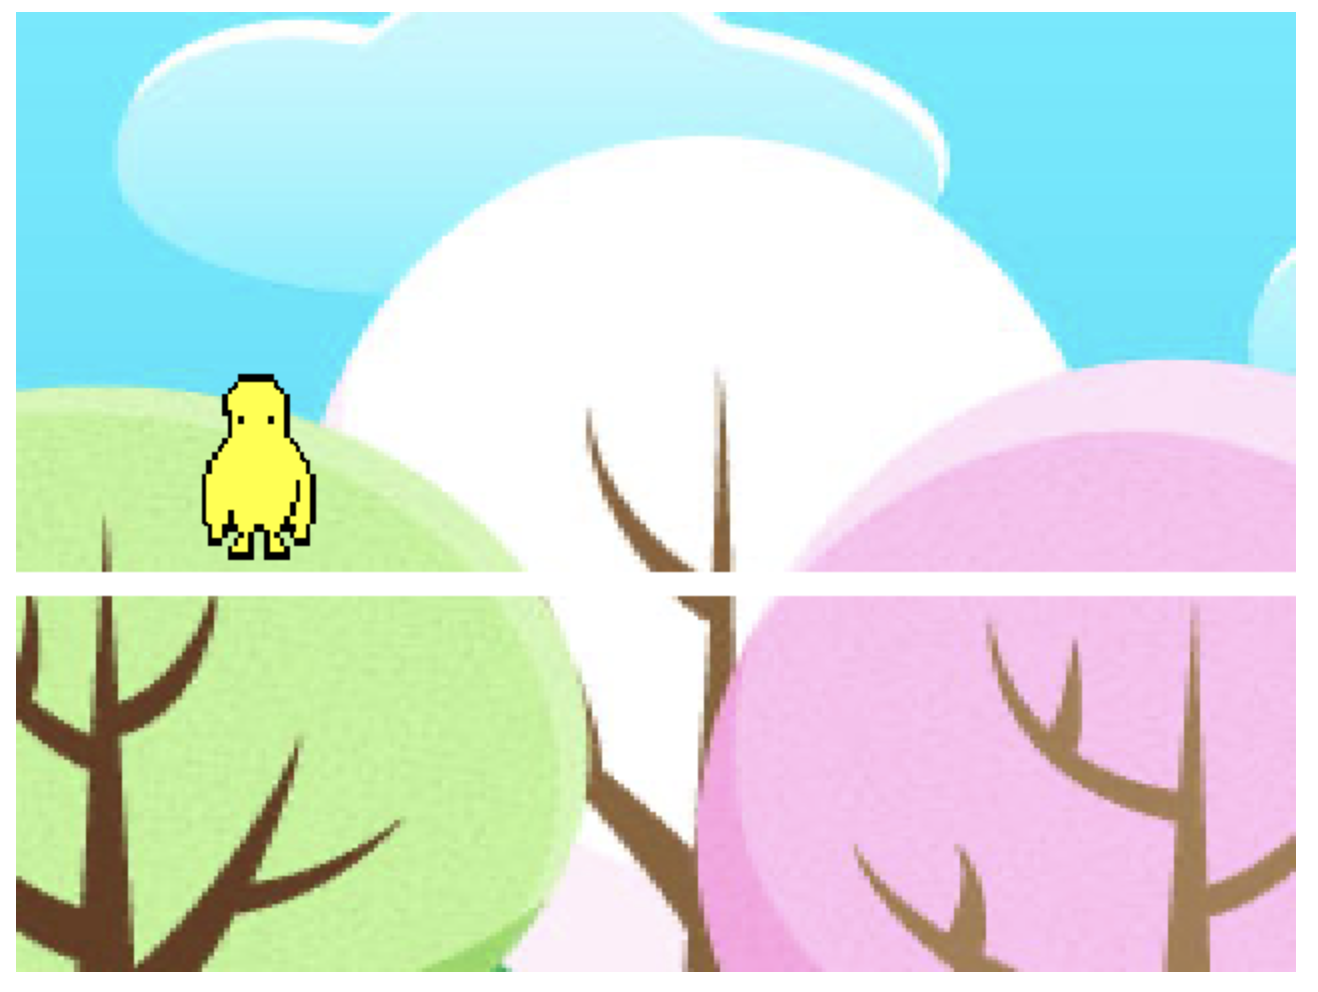
Add a Background Image
To conclude this chapter of Kaboom, we will add a background image to our UI and resize it to fit.
kaboom({
   global: true,
});

loadSprite("yeti", "https://i.imgur.com/OqVwAm6.png");
loadSprite("bg", "/Users/abc/Downloads/image.jpg");

scene("main", () => {
   // Add background sprite
   add([
      sprite("bg"),
      scale(width() / 240, height() / 240), // Adjust the size of the background
      origin("topleft"),
   ]);

   const yeti = add([
      sprite("yeti"),
      pos(80, 80),
      color(255, 188, 0),
      body(),
   ]);

   // Add the ground
   add([
      rect(width(), 12),
      pos(0, 280),
      origin("topleft"),
      solid(),
   ]);

   // Controls for jump and movement
   const JUMP_FORCE = 320;
   const MOVE_SPEED = 120;

   keyPress("space", () => {
      yeti.jump(JUMP_FORCE);
   });

   keyDown("left", () => {
      yeti.move(-MOVE_SPEED, 0);
   });

   keyDown("right", () => {
      yeti.move(MOVE_SPEED, 0);
   });
});

start("main");
Output
This will lead to the following outcome −